
Chapter 1
And here it is, math, being useful in an everyday situation.
When I refer to a recipe of dough, I refer to it in the total weight of the flour. If I am making a recipe of dough with 500g of flour, I will call it a 500g batch of dough. Of course the water, salt, and Starter will add additional weight. It is easier to refer to it as “500g” versus a total weight of all of those ingredients added up. The water and Starter can vary in their percentages, but the flour is a constant 100%, so it is the number that makes the most sense to refer to.
Standard Percentages for Sourdough Breads:
All of your ingredients will be a percentage of your flour.
Flour 100%.
Water 65-80% of the flour.
Salt 2% of the flour.
Starter 15-20% of the flour.
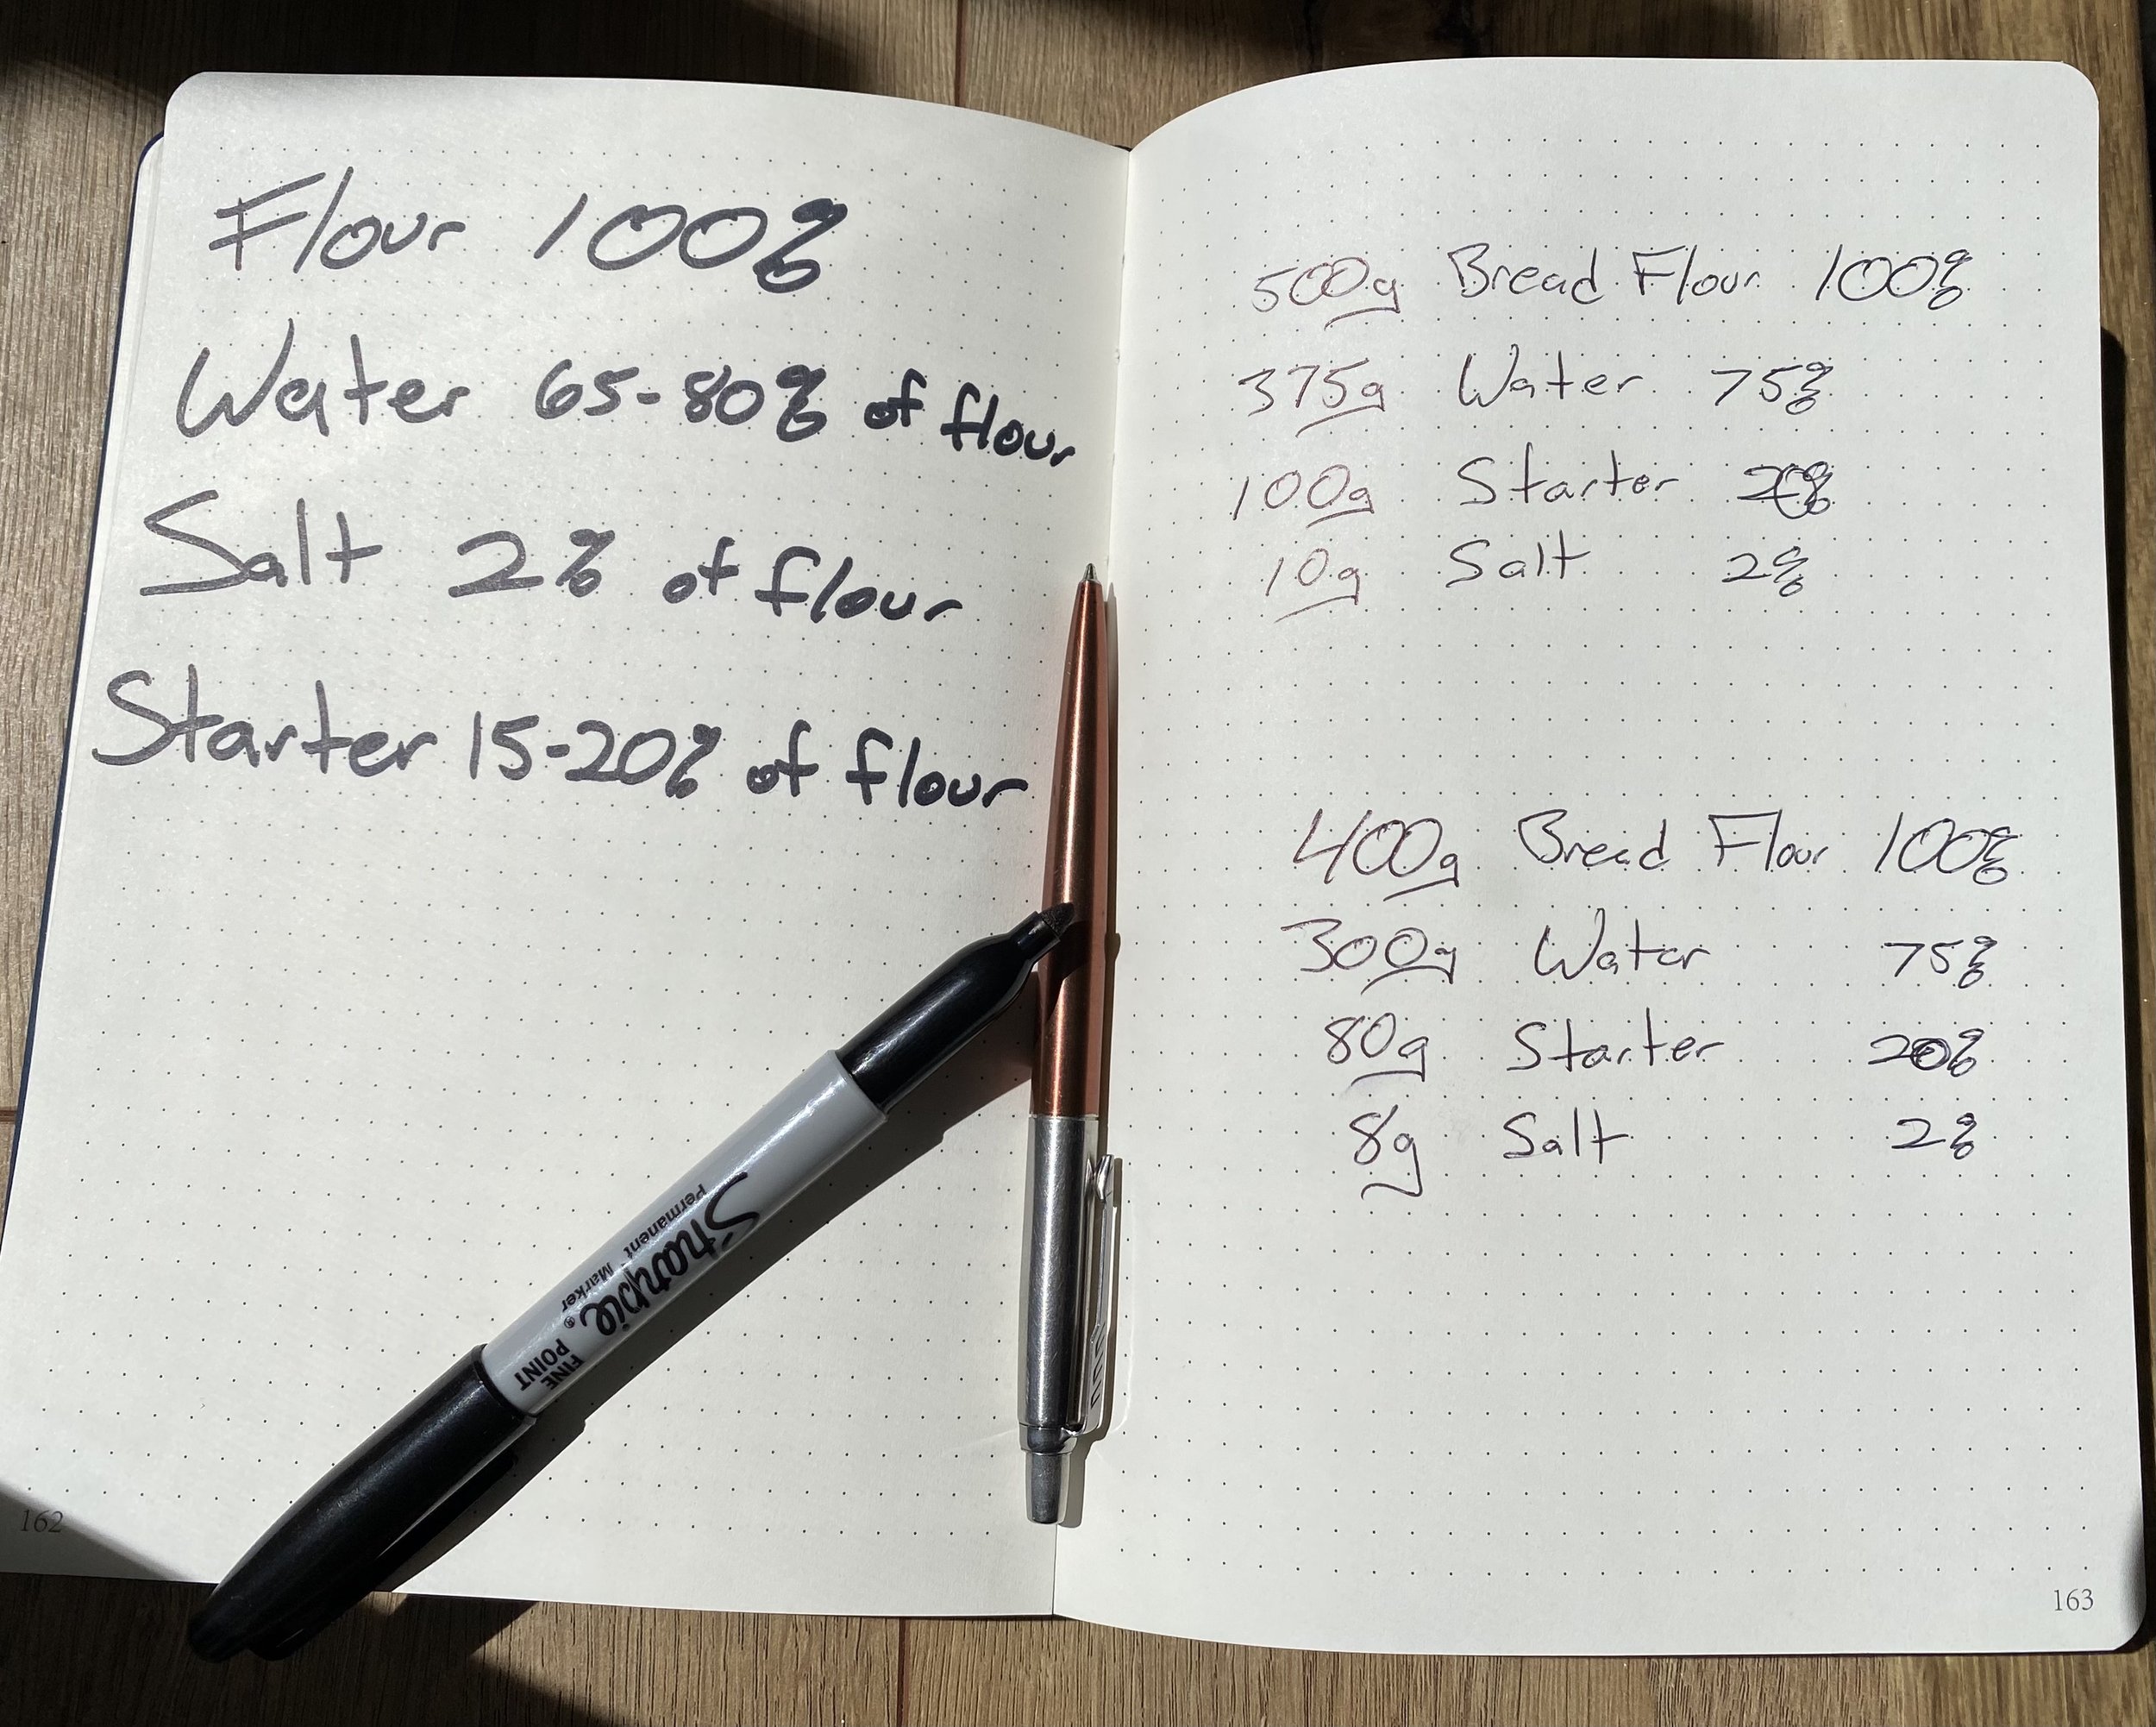
Here is an example of the percentages that would make up a 500g batch of dough:
500g Bread Flour 100%
375g Water 75%
100g Starter 20%
10g Salt 2%
So, you can see that this is easy math. You can use a calculator to scale up or down based on percentages.
The water content of the dough is referred to as the Hydration Level or just “Hydration.” In the example above the water is 75% of the flour weight (500g Flour x .75 = 375g water). This could be called a 75% Hydration dough.
BAKER’S PERCENTAGE (READ THIS)
When I say “70% hydration,” I’m using baker’s percentage.
That means:
Hydration = water relative to flour
Flour is always 100%
Everything else is based off that number
Example:
500 g flour
350 g water
= 70% hydration
IMPORTANT: Simple Hydration vs. True Hydration
When it comes to Sourdough, there are two ways to think about hydration: Simple and True. Simple hydration means we ignore the flour and water in the Starter. Even though your Starter clearly contains both, we don’t factor it into the math. This makes things much easier, especially for beginners.
As long as your Starter stays consistent—ideally at 100% hydration, meaning equal parts flour and water—you’ll still be able to dial in a hydration level that works for your skill level, environment, and ingredients. It’s a practical starting point that removes unnecessary complexity.
Hydration itself is just the percentage of water relative to the total flour in a recipe. For example, if a recipe calls for 500 grams of flour at 70% hydration, you multiply 500 by 0.7 to get 350 grams of water. With Simple hydration, we stop there and don’t adjust for what’s in the Starter. And for most people, especially early on, this works just fine. For most beginners using Simple Hydration, the sweet spot is going to be 65-70% depending on your environment and skills.
True hydration is more precise. Here, we do account for the Flour and water in the Starter, which gives us greater accuracy and scalability. This matters more in professional settings or when you’re trying to dial things in very tightly.
As a general rule, if your Starter makes up about 20% of the total recipe, Simple hydration will land you roughly 2% higher than true hydration. So if you’re aiming for a True 70% hydration dough, using 68% in your Simple calculation will get you very close.
A 400g loaf of bread using the same percentages as above would look like this:
400g Bread Flour 100%
300g Water 75%
80g Starter 20%
8g Salt 2%
The Hydration Level can vary along with the Starter. The salt should always be 2% of the Flour weight. It may change when you are making other types of bread (e.g. Chocolate Chocolate Chip). The salt is important to developing good color and flavor. This standard 2% salt quantity is not enough salt to make the dough salty, but enough so it doesn’t taste flat. Tuscan bread is an example of a bread that has little to no salt in it. It has very pale coloring. It has no depth of flavor, no caramelization in the crust, and is generally bland. Salt has a huge influence on the end product you are creating. 2% is a standard percentage; there should be no variation here for regular/standard bread recipes.
The percentage of Starter and Water in your dough can vary. In general water can vary from 60% to 85%. Of course you could go all the way up to 90-110%, but that will result in a very slack dough that takes some skill to work with. Ciabatta is a higher hydration dough that lands in that range. For now, stay within the 60-75% hydration range. Dough in this range will be drier and easy to handle as you develop the skills of Stretching the dough and Shaping it. I think 70% hydration is a good jumping off point for those who are new to Sourdough. It is not too wet, and it will produce a good crumb and crust in your final product. All of the recipes in this book/course will have a 75% hydration. It's easy math, but think of this percentage as a “place holder.” In my experience most new bakers are successful at 65-70% hydration depending on their environment, flour quality, and water quality.
Start at 70% hydration, if you find this too difficult to work with, shave off 5% the next time you make dough, making your hydration (water content) 65%. In general, 70-75% hydration will become more comfortable for you to handle as you build your skill and confidence handling the dough in the first “Stretch and Fold.” This should be the only phase of the dough development where the dough feels a bit “sticky.” But, we are getting ahead of ourselves; more on this later.
Starter percentages can vary too. 15%-20% Starter is a good place to be. In most of my bread baking, the Starter is a standard 20%. 20% gets your dough moving at a steady pace. If you wanted to slow down the fermentation of your dough you could reduce the percentage of Starter to 15%. But, using 20% is easy mental math and it works. All of the recipes will use Starter at 20%.
The Bread Flour is 100%. So, if you decide you want to make a couple smaller size loaves, it is easy to scale down. I like 350g batches to make Batard/Ovals as gifts. They are also a good size for two people. If you are making a 350g batch of dough you would apply the percentages like this:
350g (100%) Bread Flour
263g (75%) Water
70g (20%) Starter
7g (2%) Salt
These percentages give you the freedom to adjust recipe sizing in a scalable way that maintains the consistency of the end product regardless of what size batch of dough you make. I will say that 350-500g is a great recipe size. Loaves at 500g start to be a maximum size for a 5-7qt cast iron pot. 350-500g batches of dough are also the sweet spot for a 10” round or oval banneton.
Here it is one more time for a 500g batch of dough:
500g of Bread Flour (100%)
75% Water (500g x .75 = 375g Water)
20% Starter (500g x .20 = 100g Starter)
2% Salt (500g x .02 = 10g Salt)
So, now you should have a pretty clear understanding of how to scale a basic sourdough bread recipe up or down. Below is a quick reference for the process of making a batch of dough for a Round or an Oval/Batard. You can refer to this timeline to understand where you are in the phases of making your dough/bread. Use this timeline to adjust bread baking to fit your schedule.
Sample Sourdough Timeline for a Round or Oval
Adjust this timeline to fit bread baking into your schedule.
Day 1
9:00pm Feed your Starter.
Day 2
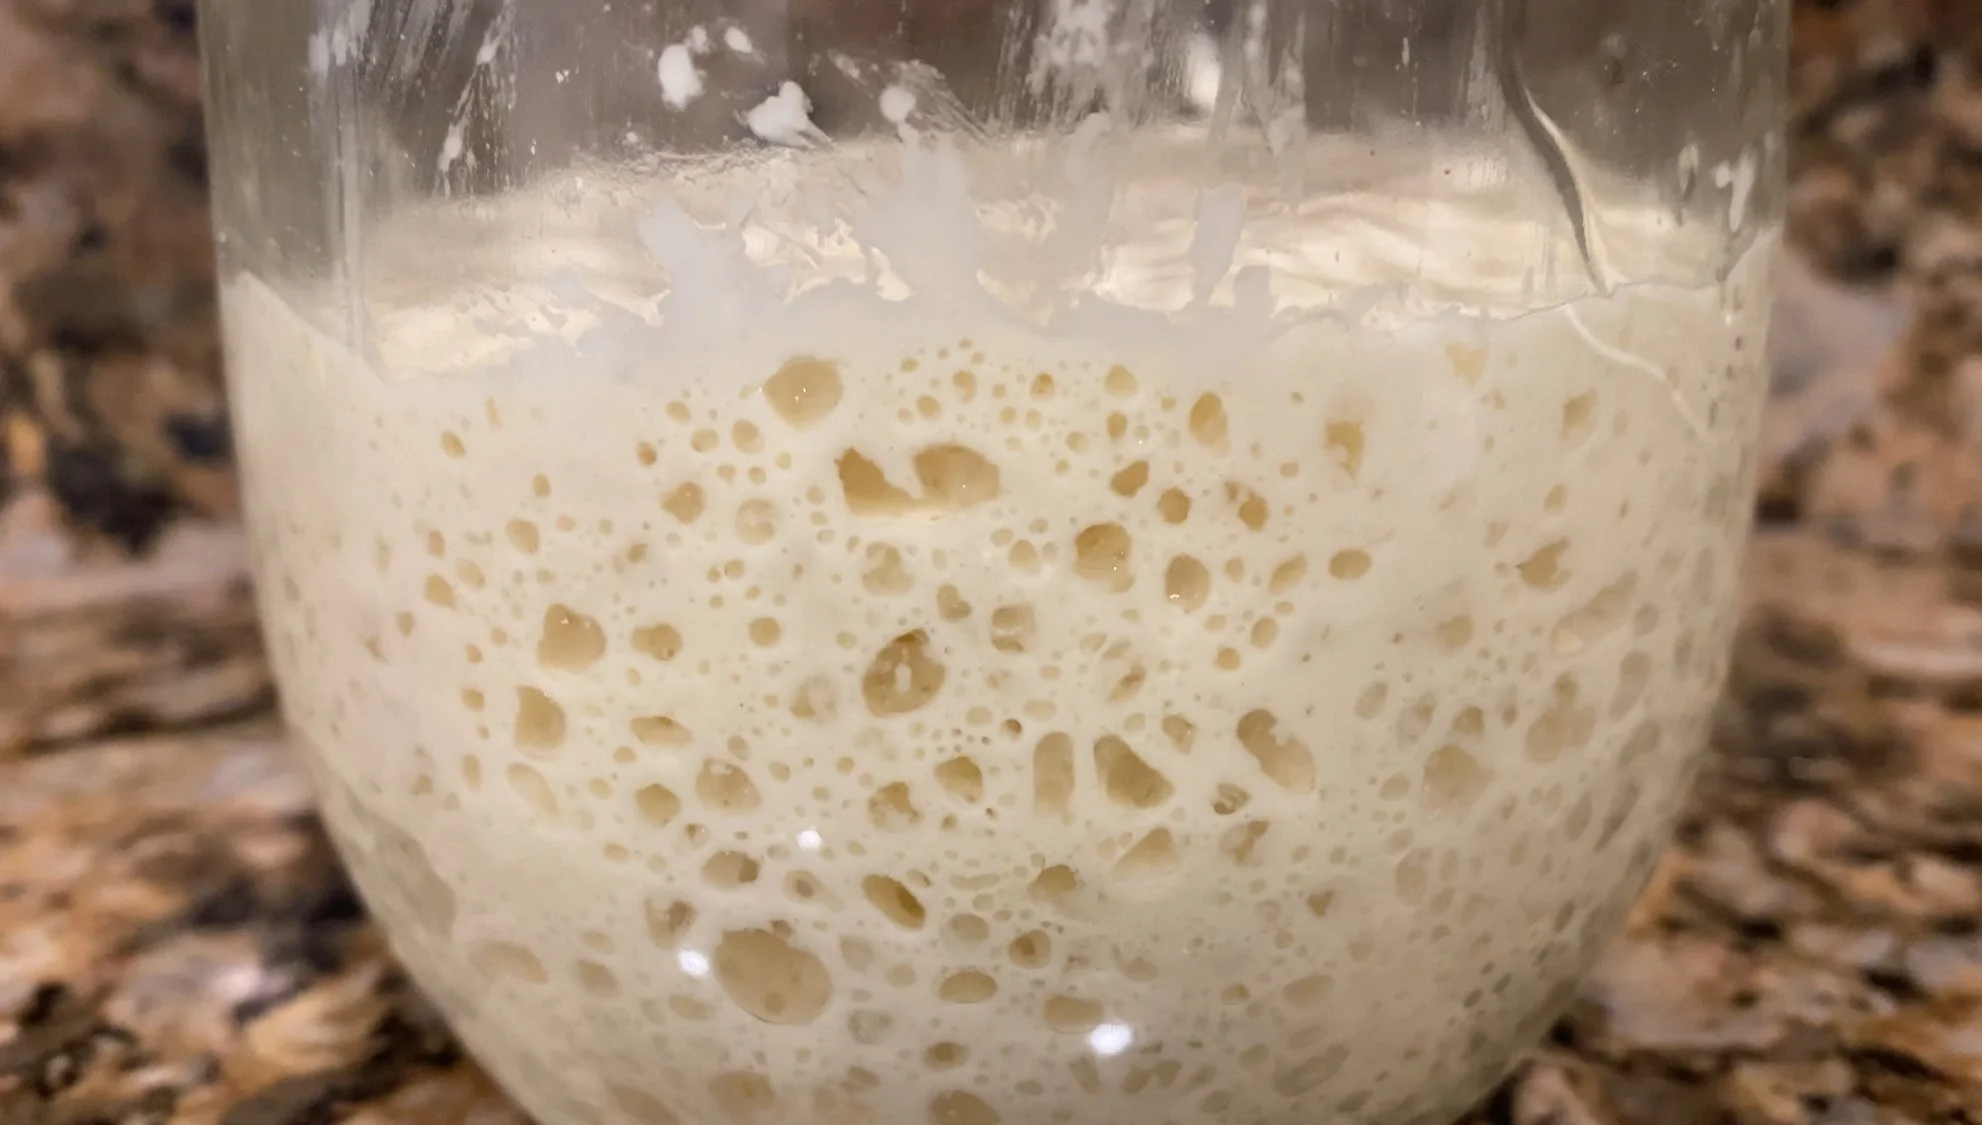
7:00am Your Starter doubled or tripled overnight. Mix the dough.
7:45am First Stretch/Fold then rest the dough for 30-45 minutes.
8:15-ish Second Stretch/Fold then rest the dough for 30-45 minutes.
8:45-ish Third Stretch/Fold then rest the dough for 30-45 minutes.
9:30-ish Fourth (Final) Stretch/Fold and now bulk fermentation begins. It is a 4-6 hour process depending on your environment.
2:00-4:00pm Bulk Fermentation ends. It is 4-6 hours later, or more, depending on your environment. The volume of dough should have doubled. It is time for shaping.
4:00pm Shape the dough and place it into a banneton. Cold Proofing begins (8-48 hours under refrigeration). Or, if you are making a sandwich loaf, cover and proof at room temp 4-6 hours until the dough has expanded and stands 1-2” above the rim of the loaf pan.
8:00-9:00pm ***For a Sandwich Loaf only***. Preheat the oven to 425. Bake the loaves at 425 for 30 minutes. Remove from the loaf pan and parchment paper. Continue baking until desired color is achieved. Cool for a minimum of 2 hours, but overnight is best.
Day 3
7:00am Preheat the oven and cast iron pot with the lid at 450 degrees.
7:15am Score the loaf. Bake for 45 minutes, covered. Remove from pot and paper. Continue baking until desired color is achieved, maybe 7-10 minutes.
8:15am Cool the bread for at least 1 hour (2 hours is better) before slicing. If your bread is for dinner that night, leave the loaf on the rack at room temp, then slice it and bake it at 375 for 10-15 minutes just before dinner lands on the table. Your bread will be crusty, slightly darker, and warmed through.
There are many possible timelines to fit Sourdough Bread Baking into your life. Below is an outline of the steps involved from start to finish. We will go into depth on each of these steps. Think of this as a 40,000 foot view of what is required. Good bread takes time and there is lots of “click bait” on social media that promises excellent bread in 1 hour. It is not possible to produce excellent Sourdough bread in 1 hour, but with an intelligent strategy and some planning you will easily integrate Sourdough into your life.
The 10 Phases of Sourdough Bread:
Activate Starter overnight 10-12 hours to reach ideal activity level.
Mix Dough. This should take no more than 10 minutes.
Four Stretch and Folds approximately 30-45 minutes apart (2-3 hours total time).
Bulk Fermentation 4-6 hours of the Dough hanging out covered. This is simply a period of time for the dough to expand.
Shape the dough. For Rounds and Ovals place into bannetons.
Cold Proof for 8-48 hours for Rounds and Ovals. Or, Final Proof at room temp for Sandwich Bread, Focaccia, Sandwich Buns, and Pull-Apart Rolls.
Score (for Rounds and Ovals).
Bake Times vary depending on the type of bread. 30-45 minutes.
Cool 2 hours minimum.
Slice/Serve.
***The process for Sandwich Bread, Sandwich Buns, Pull-Apart Rolls, and Focaccia is slightly different. We will address each in the corresponding chapters.
-
Add a short summary or a list of helpful resources here.