
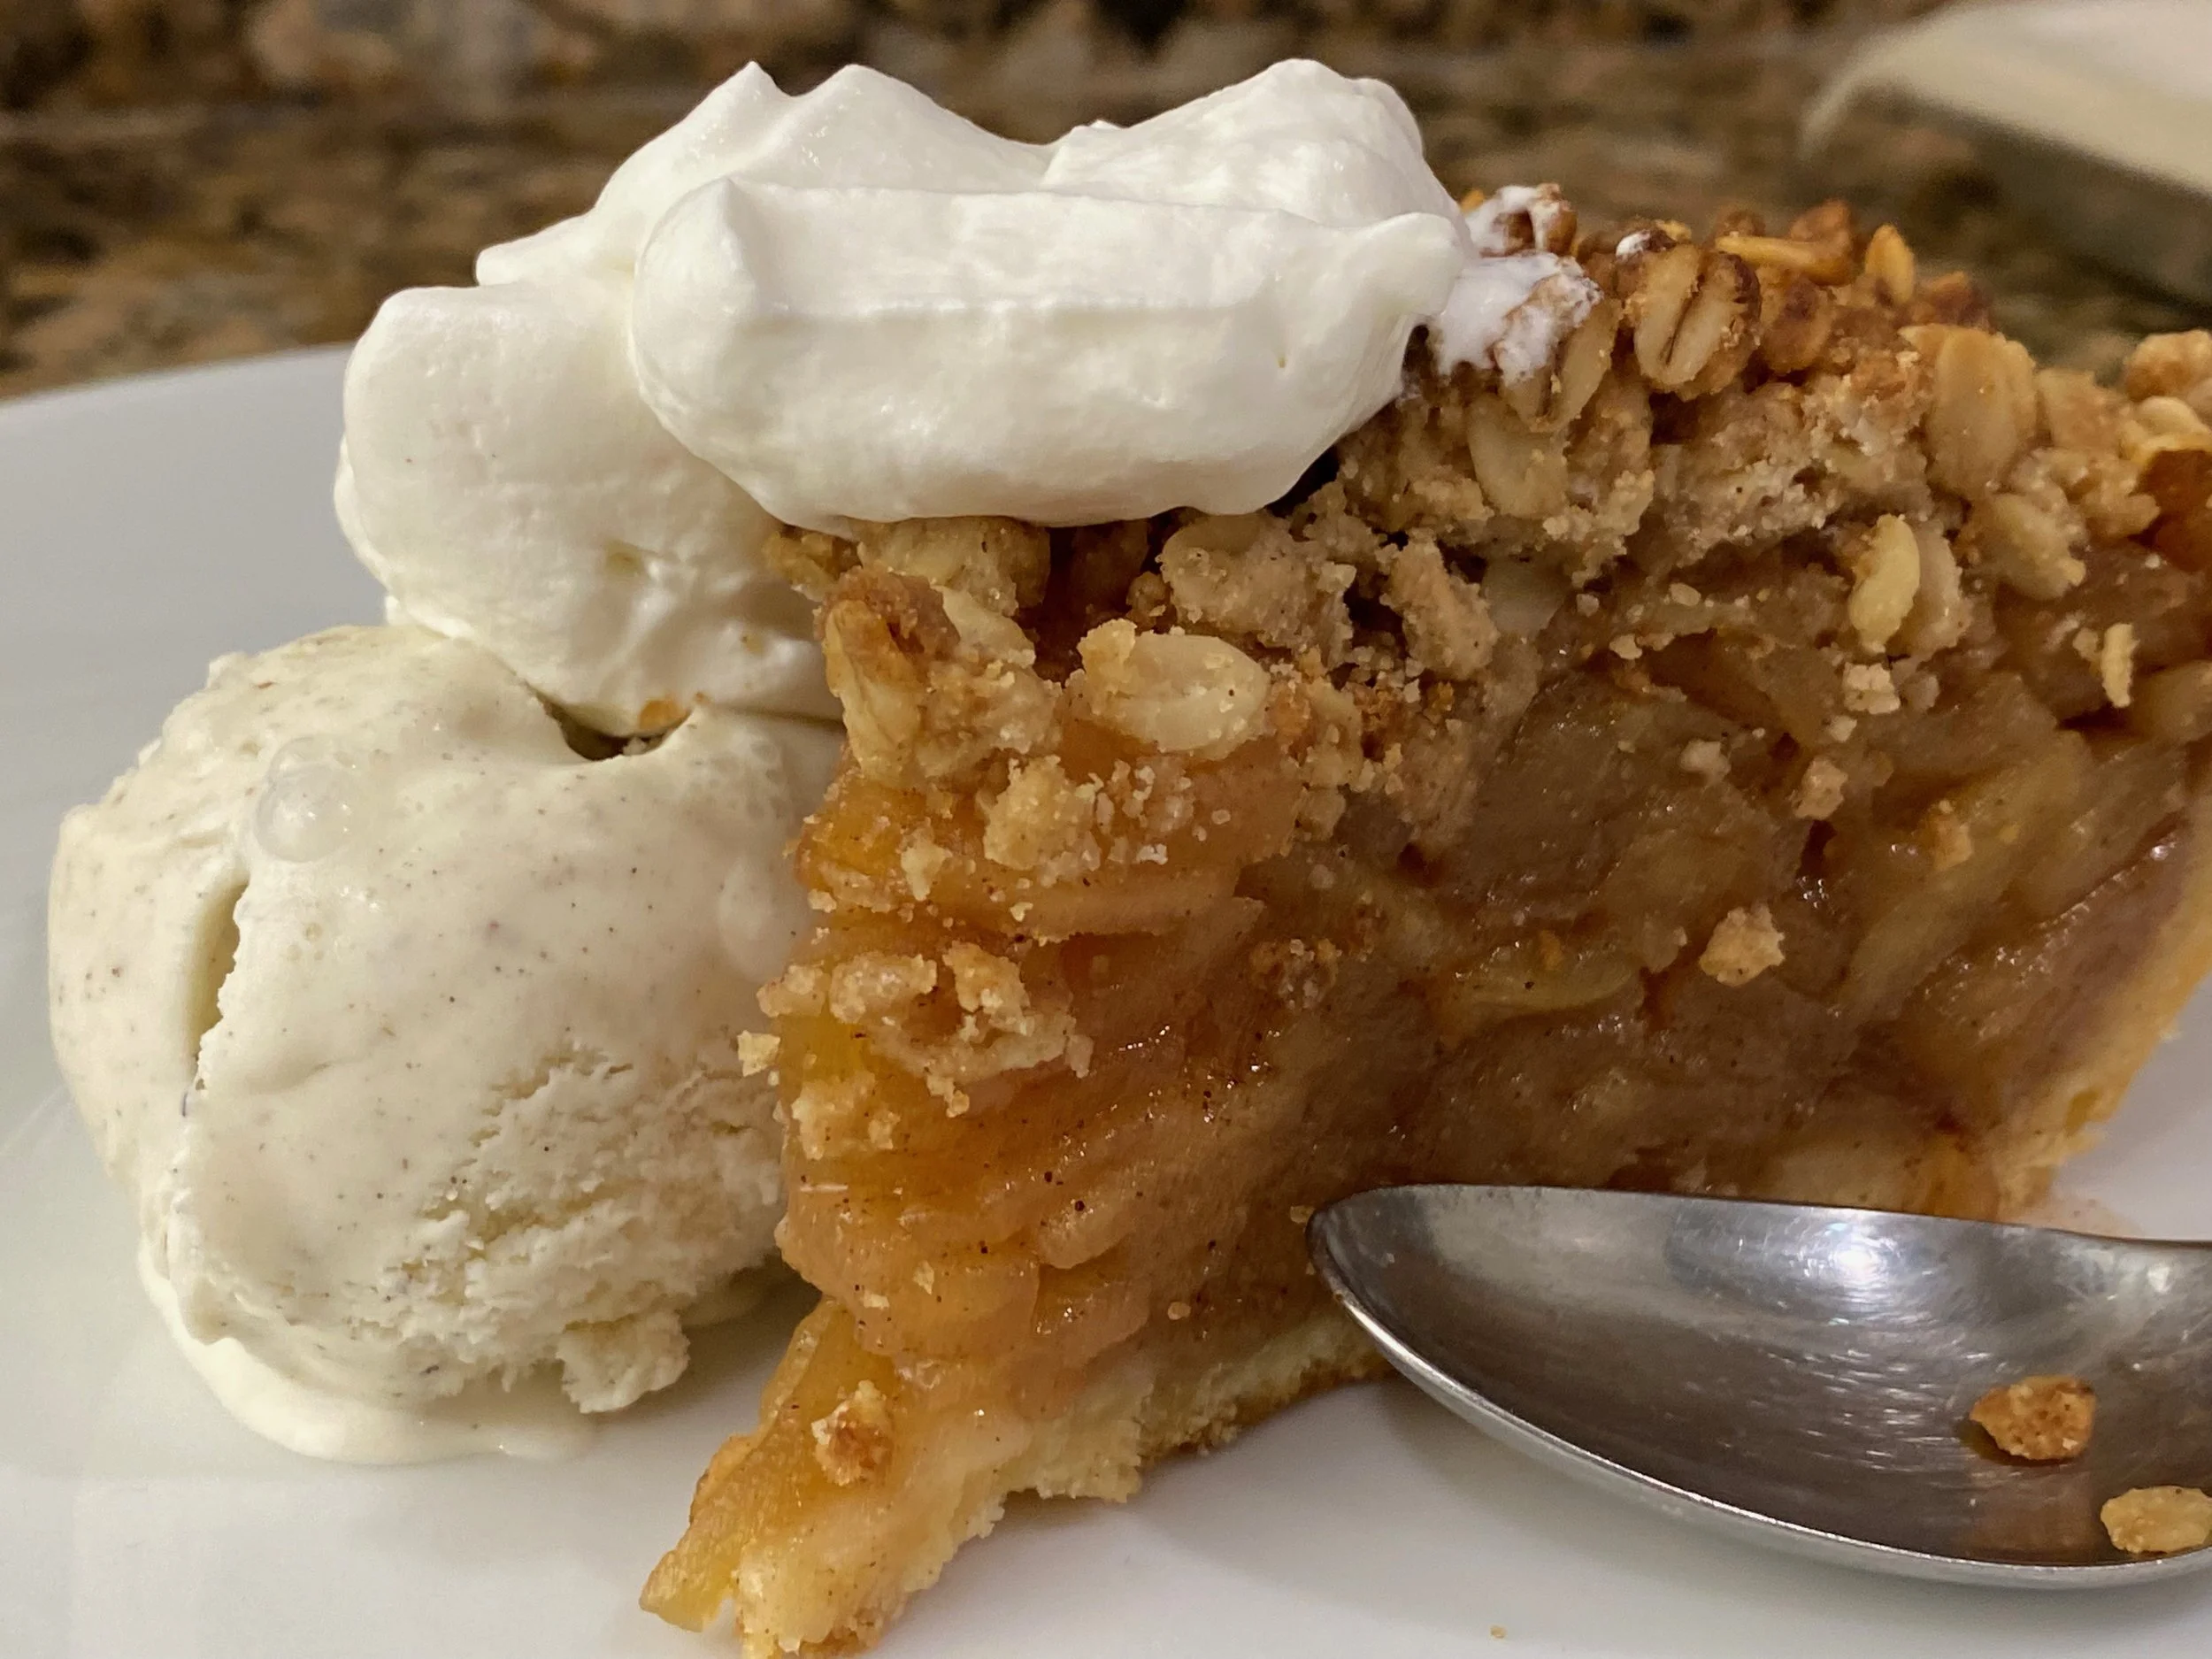
Apple Pie…Your Go-to Recipe.
There are stark opposing views about politics, religion, foreign policy, Sourdough Bread methods, and believe it or not –Apple Pie.
There are two schools of thought when it comes to apple pie. On one hand there are those people who believe a proper Apple Pie should be baked with raw apples. This works, but it is not repeatable. The size, ripeness, and water content of the apples will affect the time it takes to bake and the final moisture content of the pie. You are far more likely to have crunchy apples in your pie no matter how evenly they are cut. Many recipes will provide a total baking time of 90 minutes, but it will end up being more like 3 hours. It can work, but if you only make Apple Pie once a year then you are making your life more stressful than it has to be.
The other method is to cook the apples first, cool them, and then bake them in the pie dough covered with the crumble topping. This method guarantees consistent results. You have complete control over how tender the apples are and how much sauce/moisture is inside the pie. You can also adjust the seasoning, if needed, as you cook the apples. There is nothing left to chance. This is the method below.
In the U.S. Apple Pie is synonymous with Thanksgiving. Everyone should have a reliable and repeatable, go-to Apple Pie recipe. This is exactly that. It is a simple classic Apple Pie that is easy to make. The filling, pie dough, and topping/crumble can be made the day before. Getting ahead with this project makes it feel very easy to execute on the day you bake, and if that day is Thanksgiving or Christmas, your house will be perfumed with that sweet Cinnamon aroma that gets everyone excited for the meal to come.
Make it stand out
The Filling
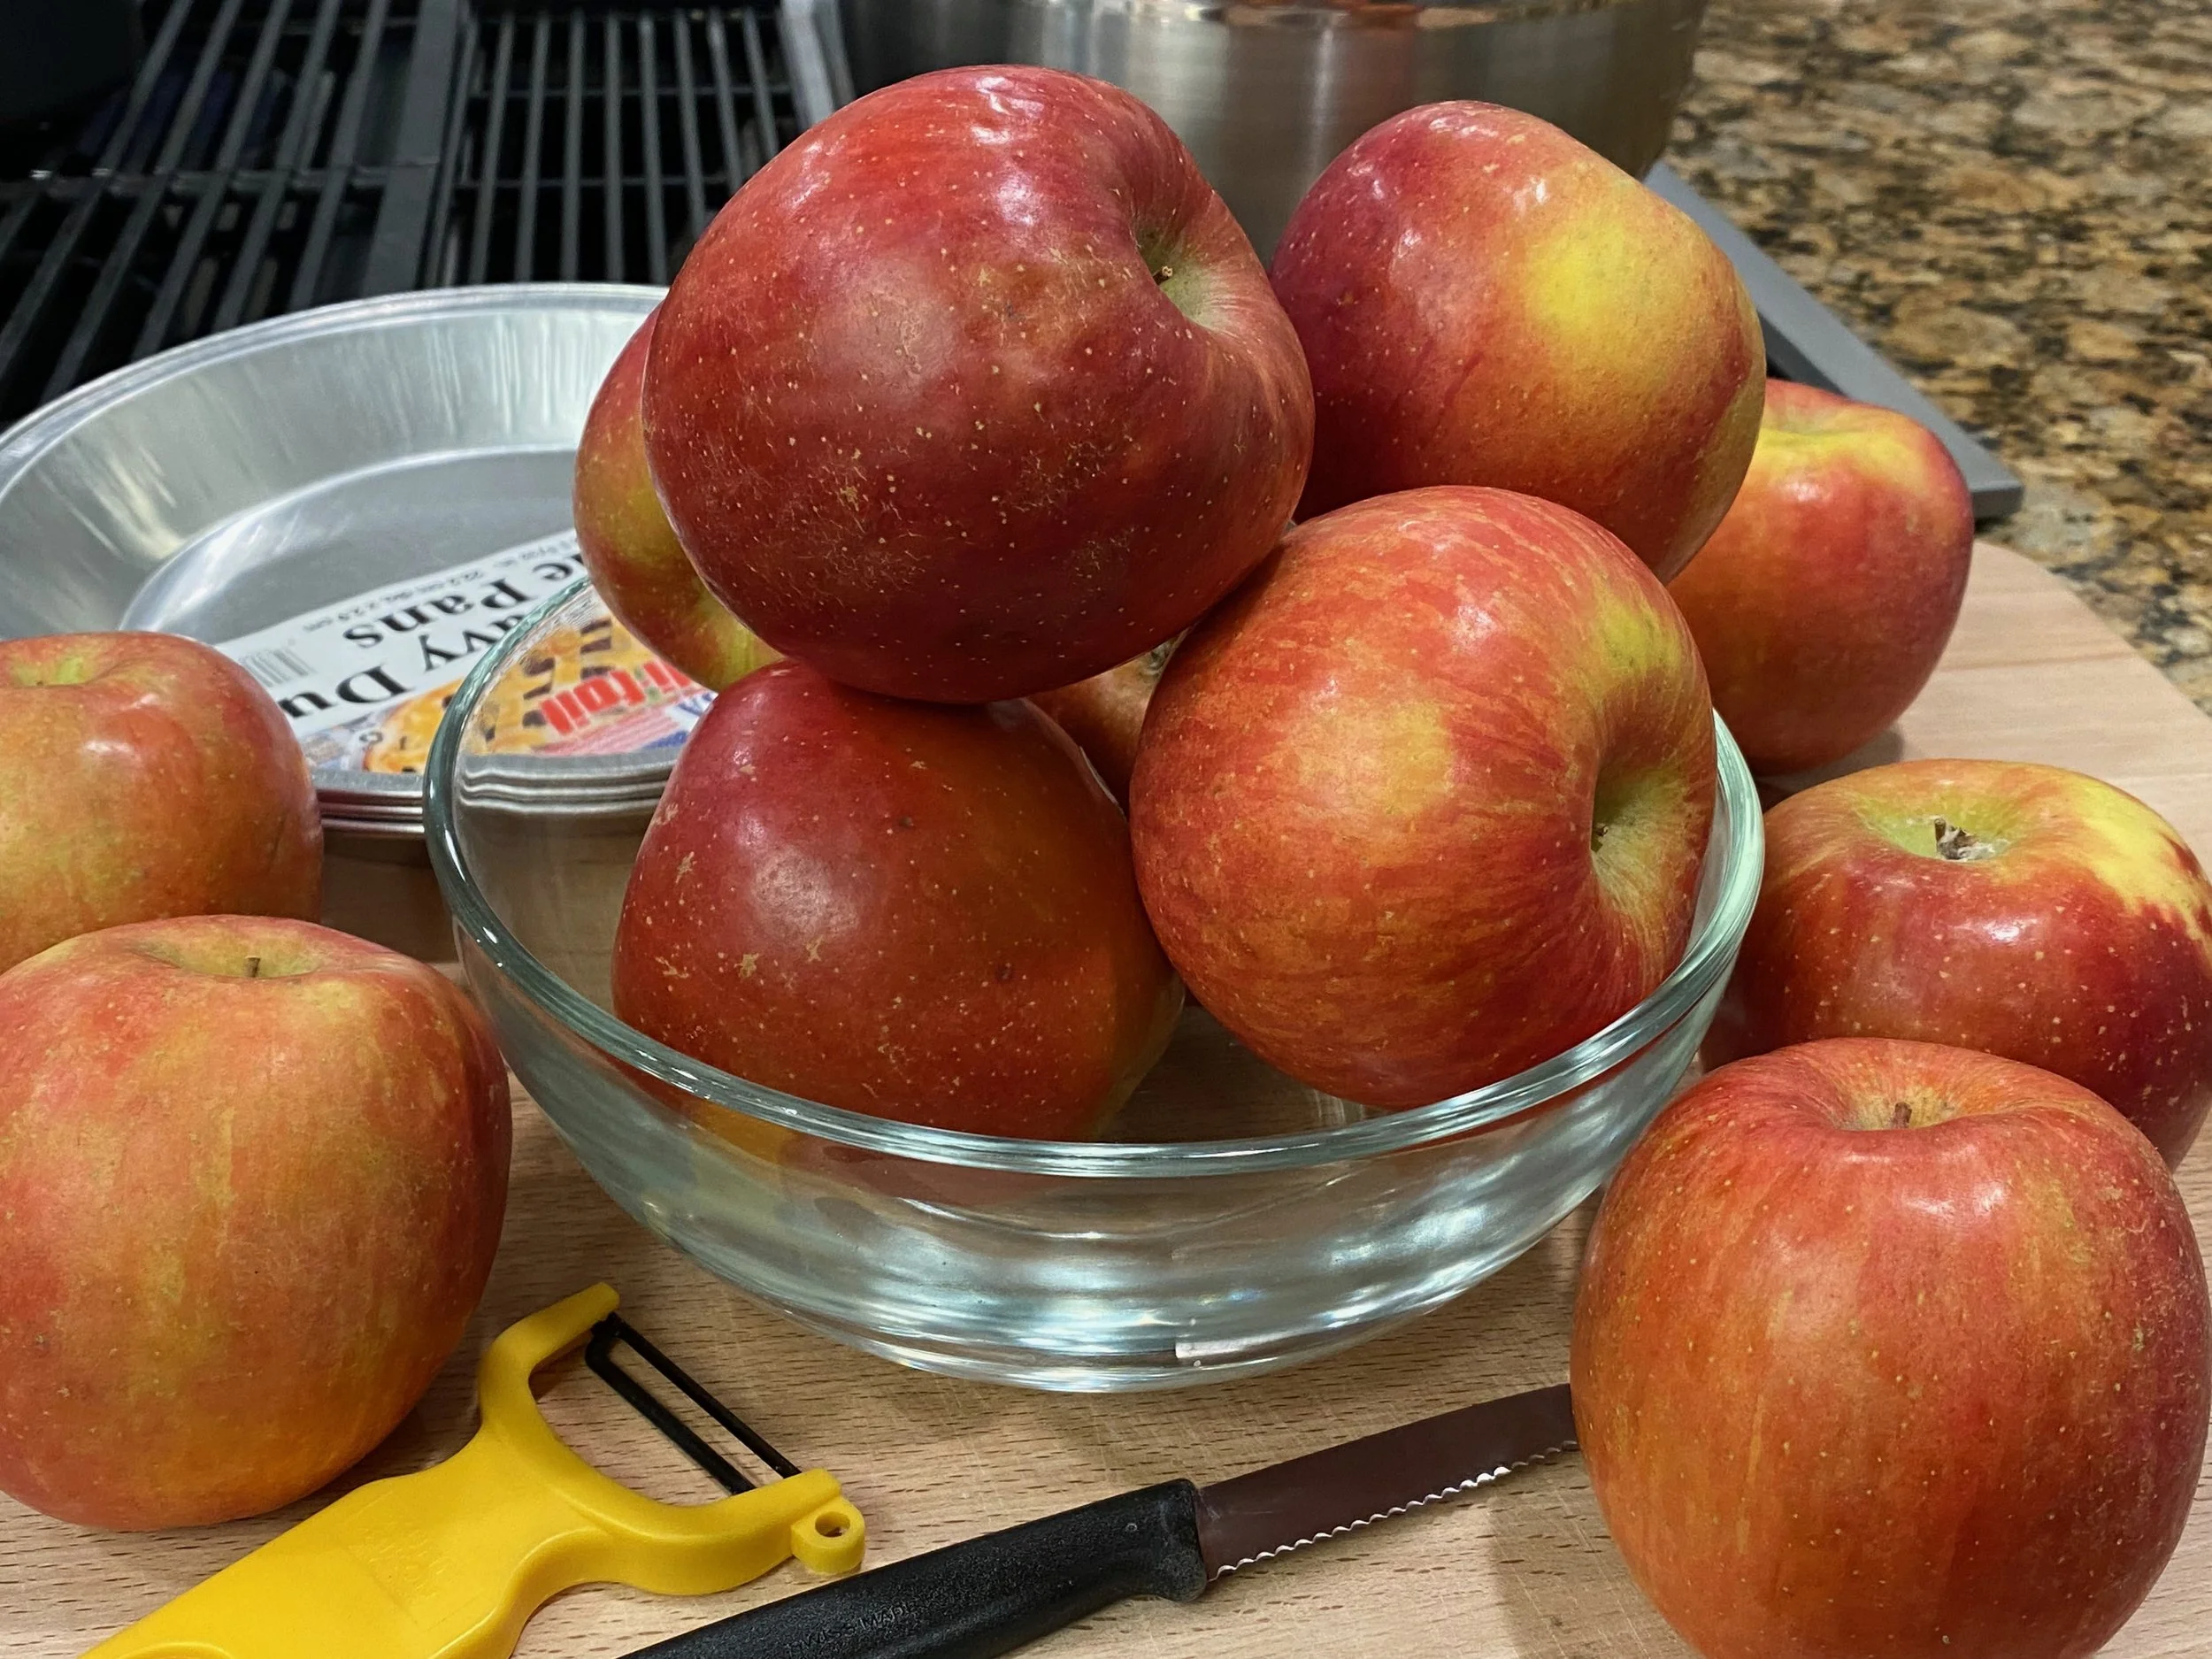
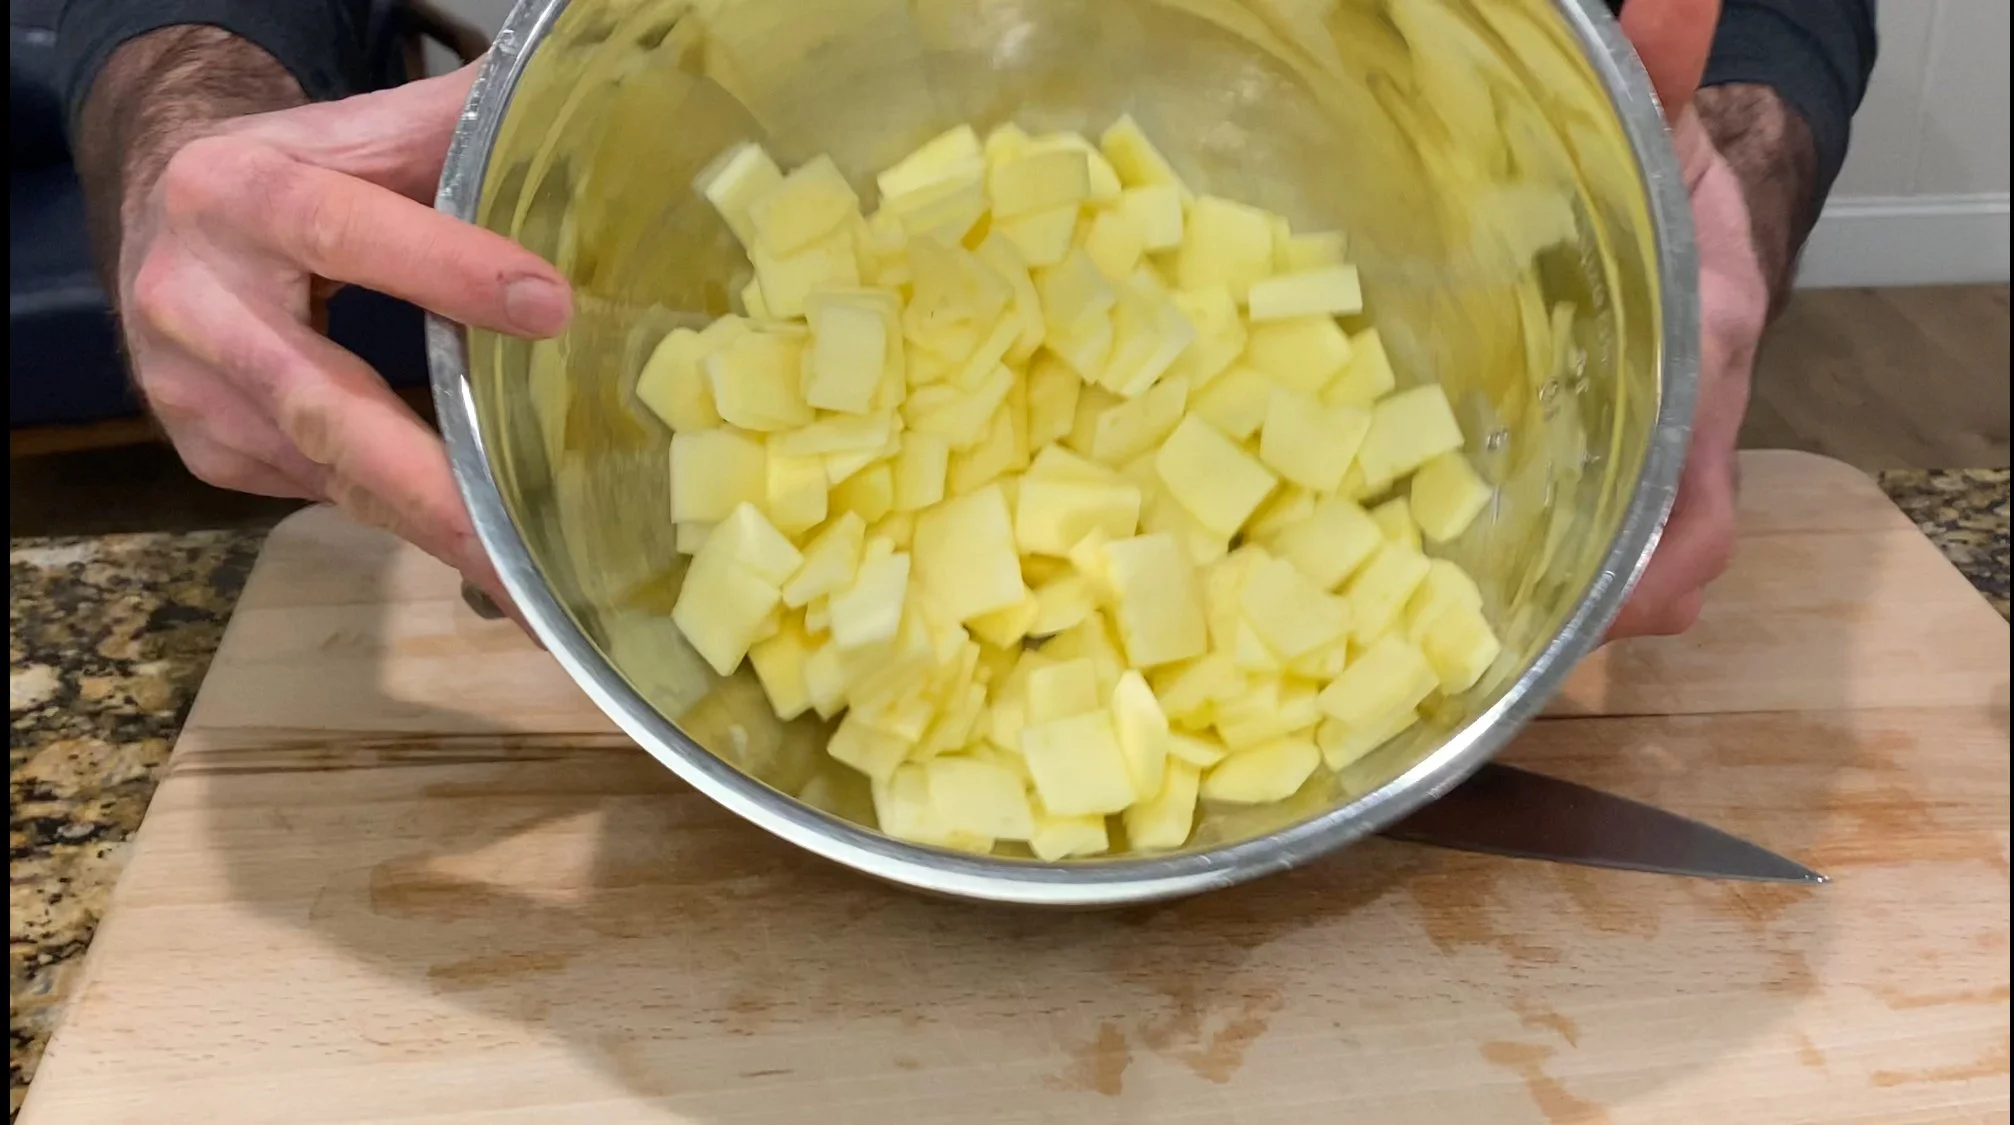
9 Fuji Apples
3/4c Sugar
1/2c Brown Sugar
1.5 tsp Cinnamon powder
.25 tsp Salt
1Tbs. Lemon juice
2 Tbs Butter (unsalted)
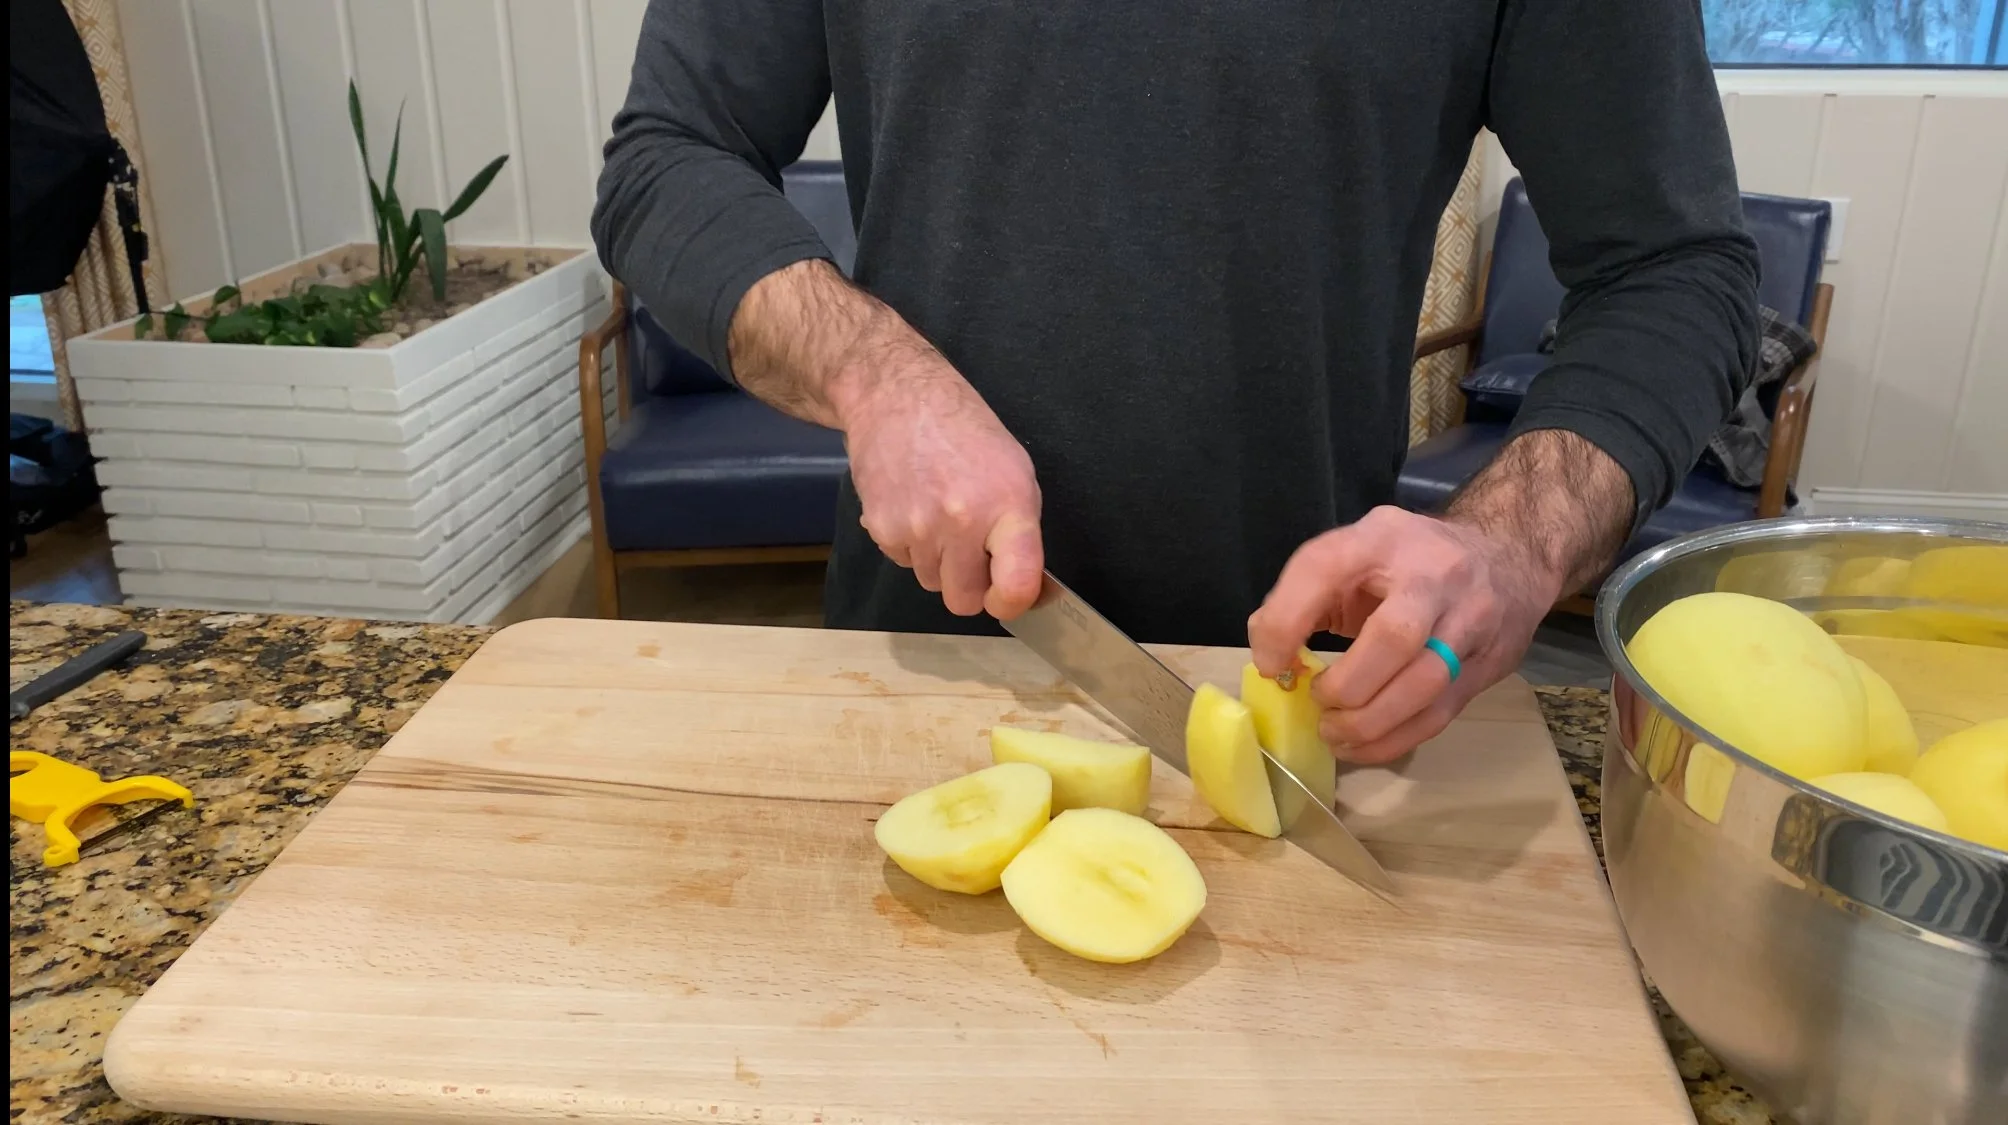
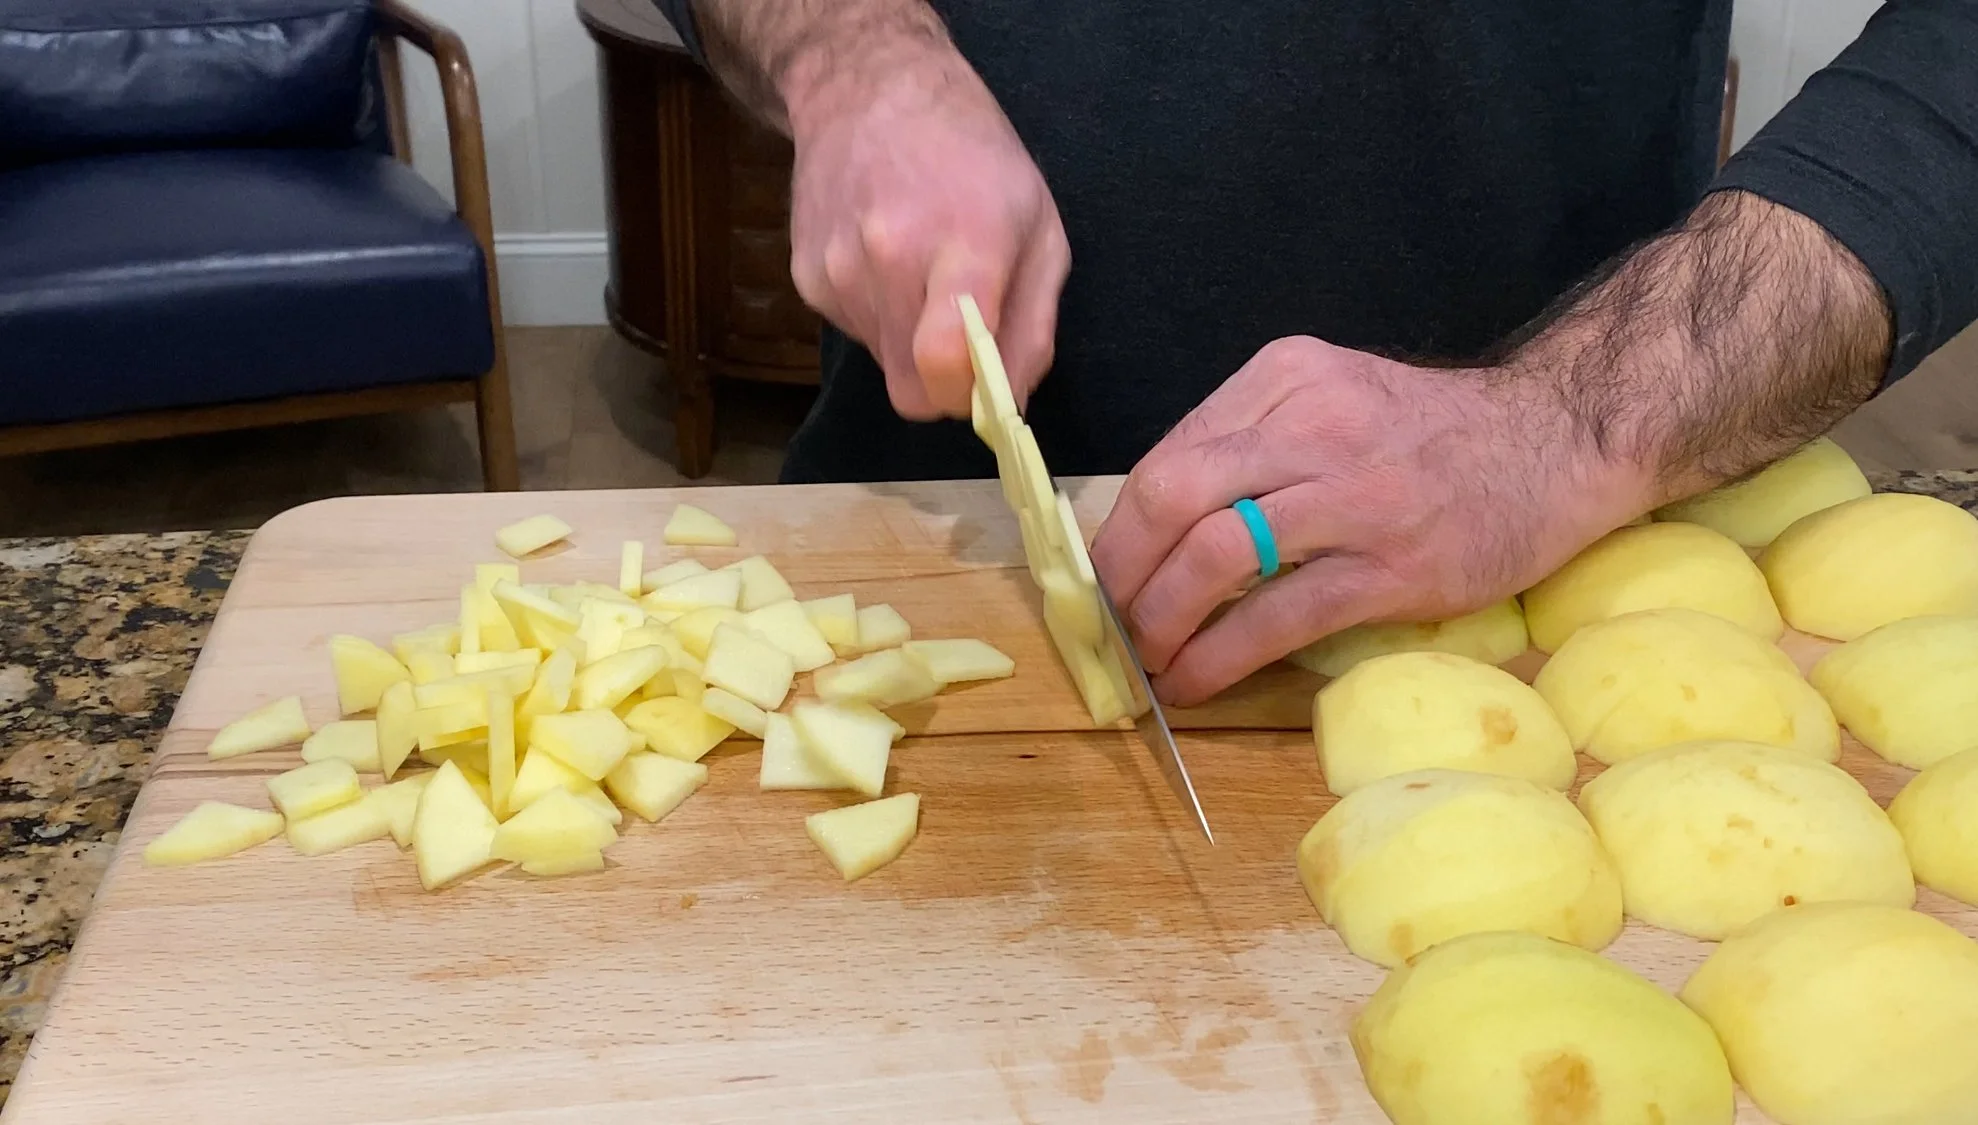
Peel the Apples. Cut off the halves and then the smaller sides from the core. The smaller sides are a perfect width. Slice the larger halves in a similar width. Slice all of these large pieces into ⅛” slices across the short side.
2. Stir all of the other ingredients, except the butter, into the apples and mix them thoroughly. Stir them every 10 minutes to get the juices to release and the sugar to break down.
3. While the apples are marinating. Make your crumble topping and pie dough. This should take you 30-40 minutes. If it takes longer, it’s not a problem.

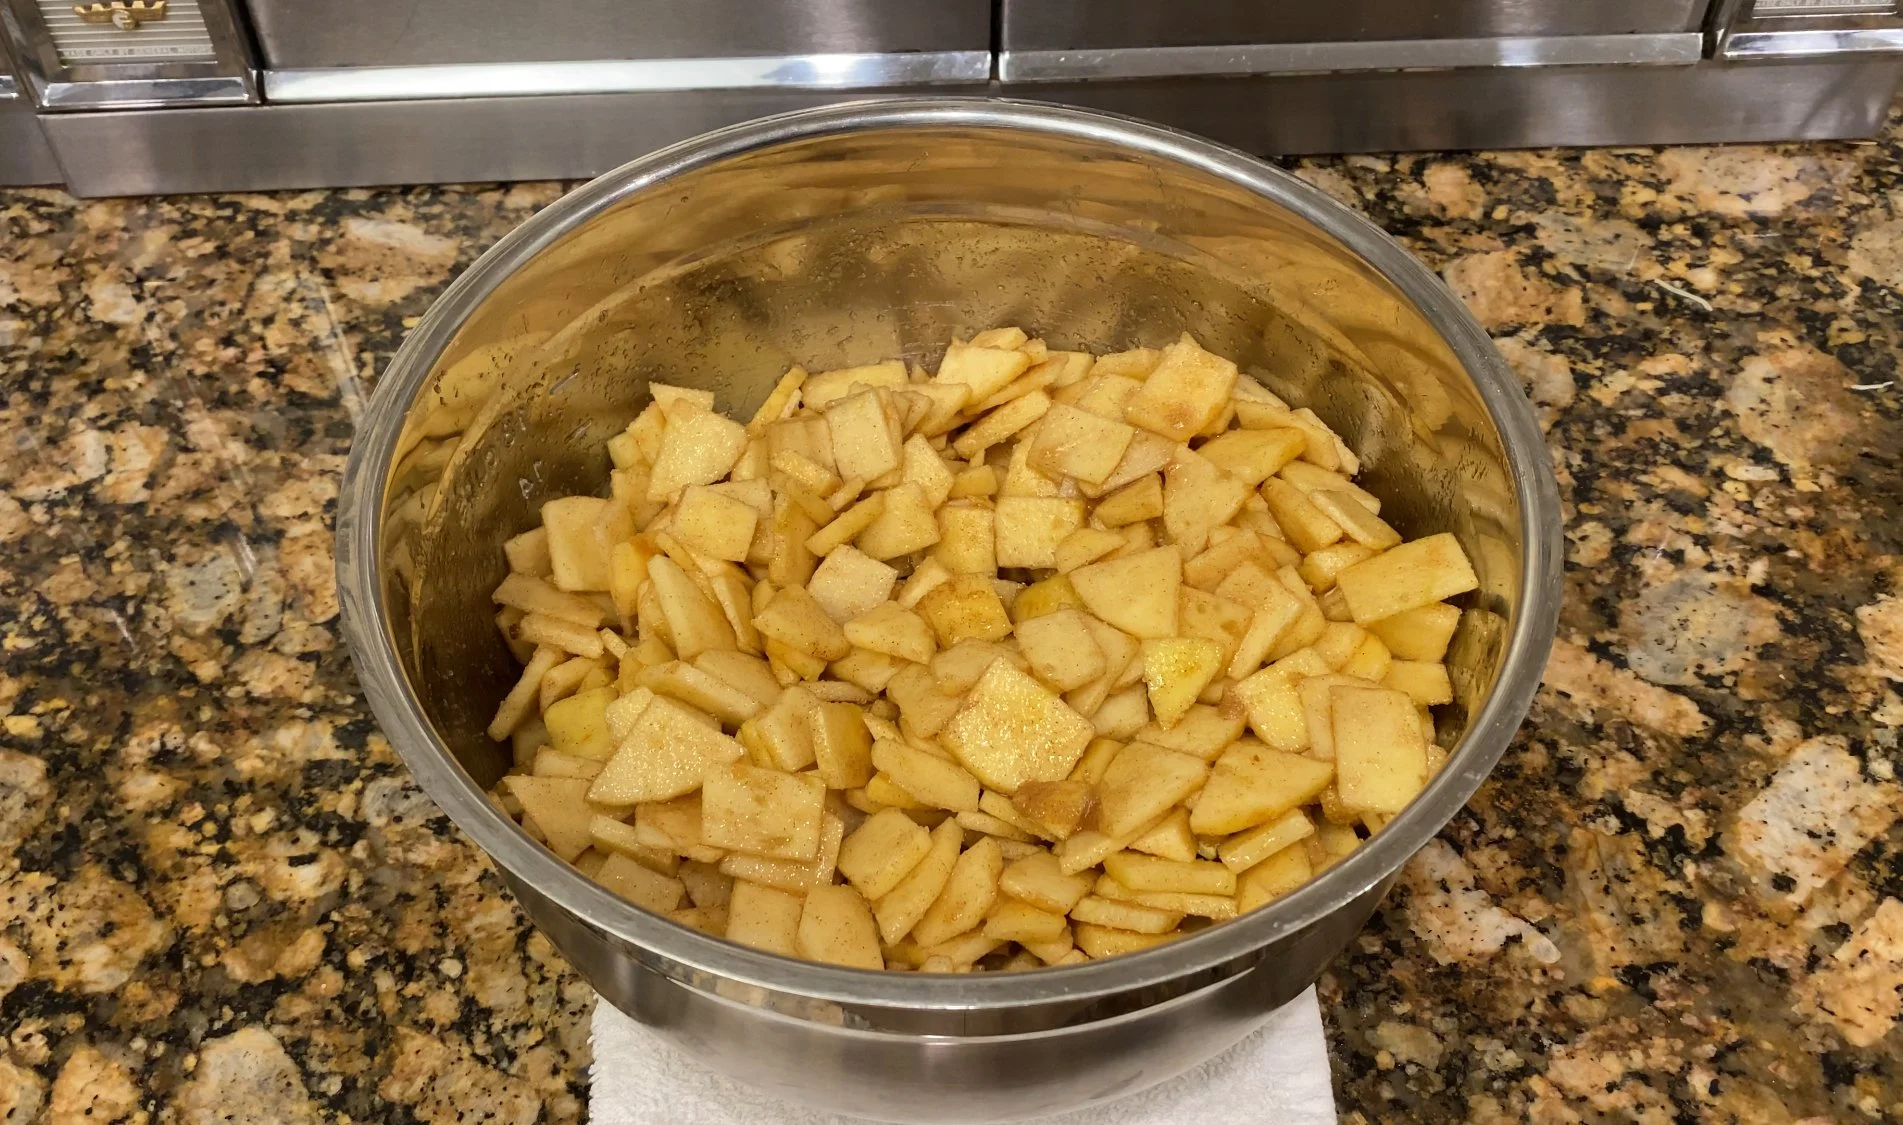
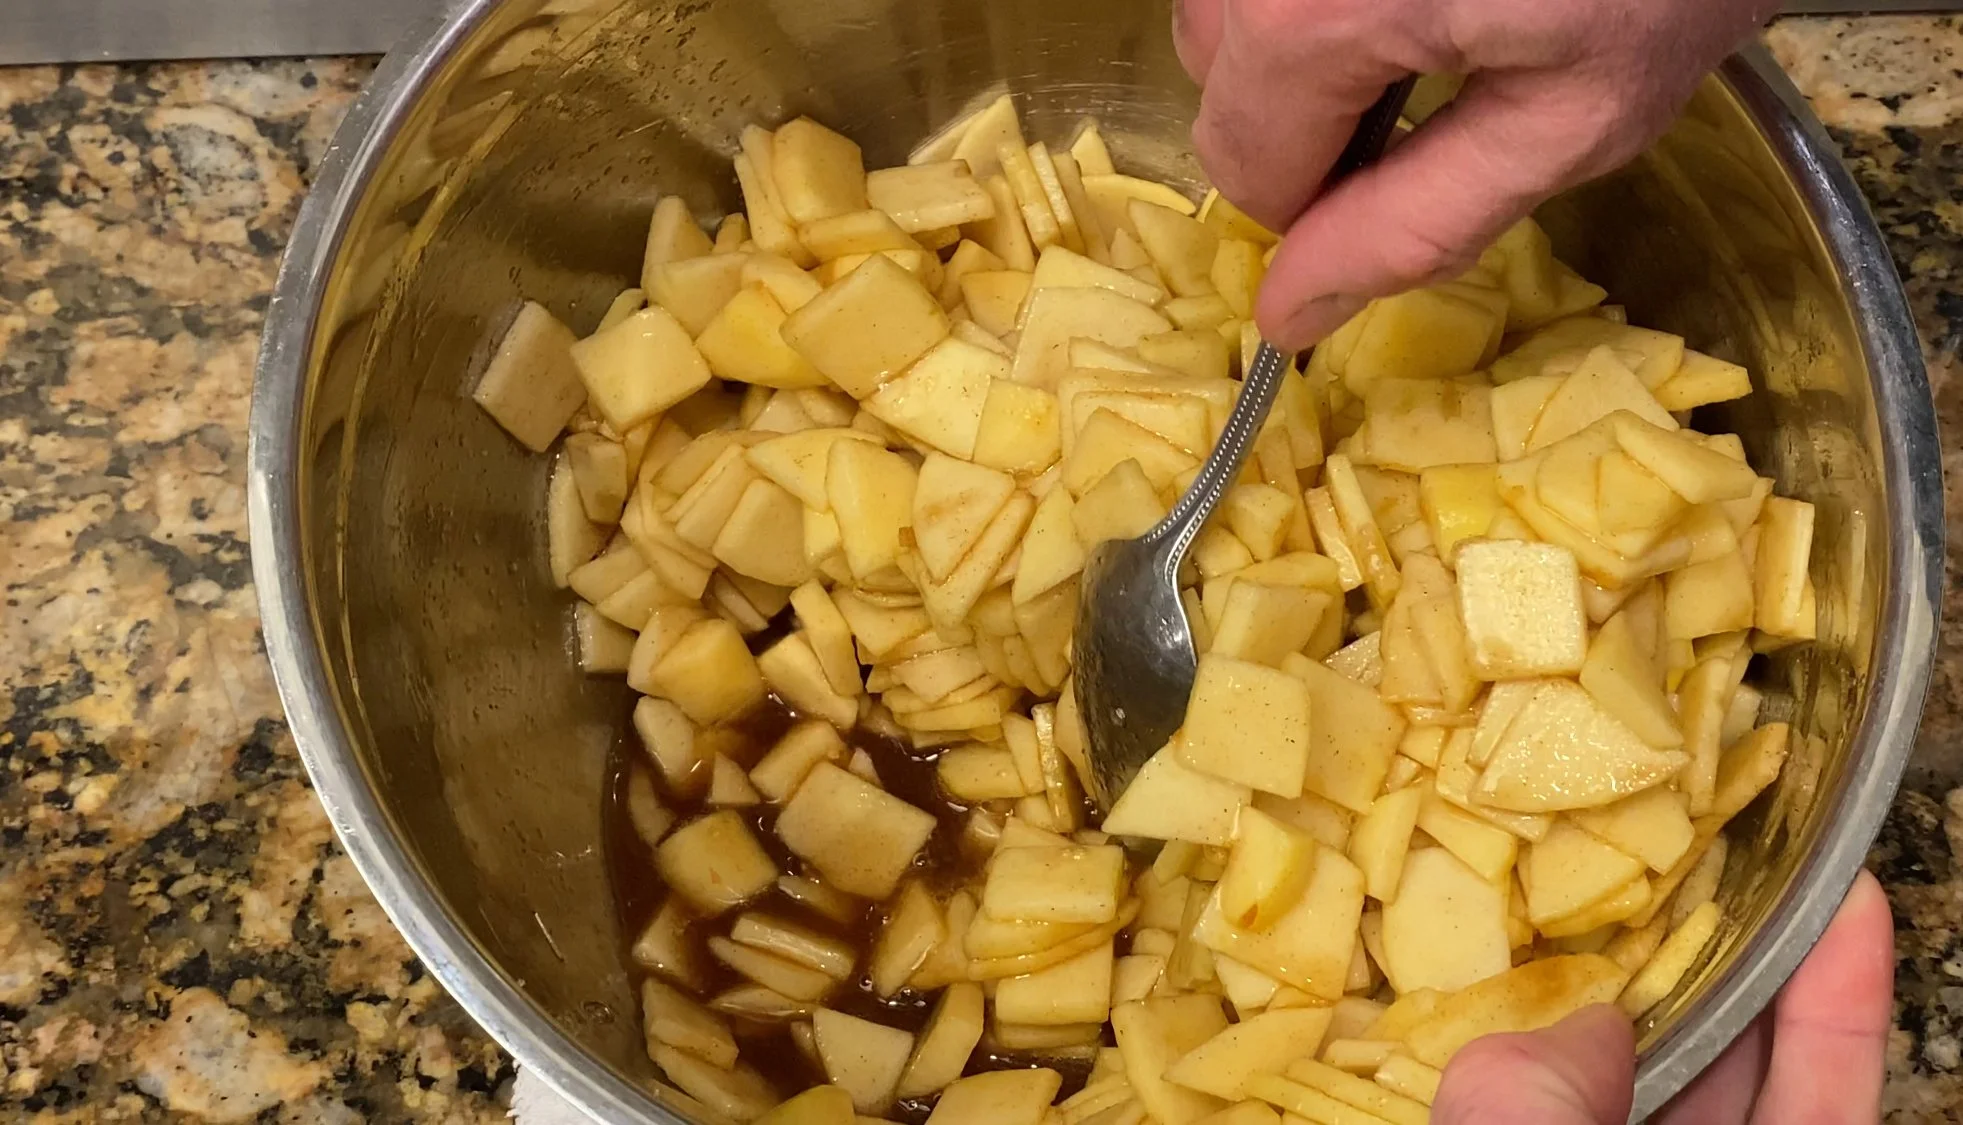
4. After the apples have marinated for 30-40 minutes there should be a good amount of liquid in the bowl. It should look soupy.
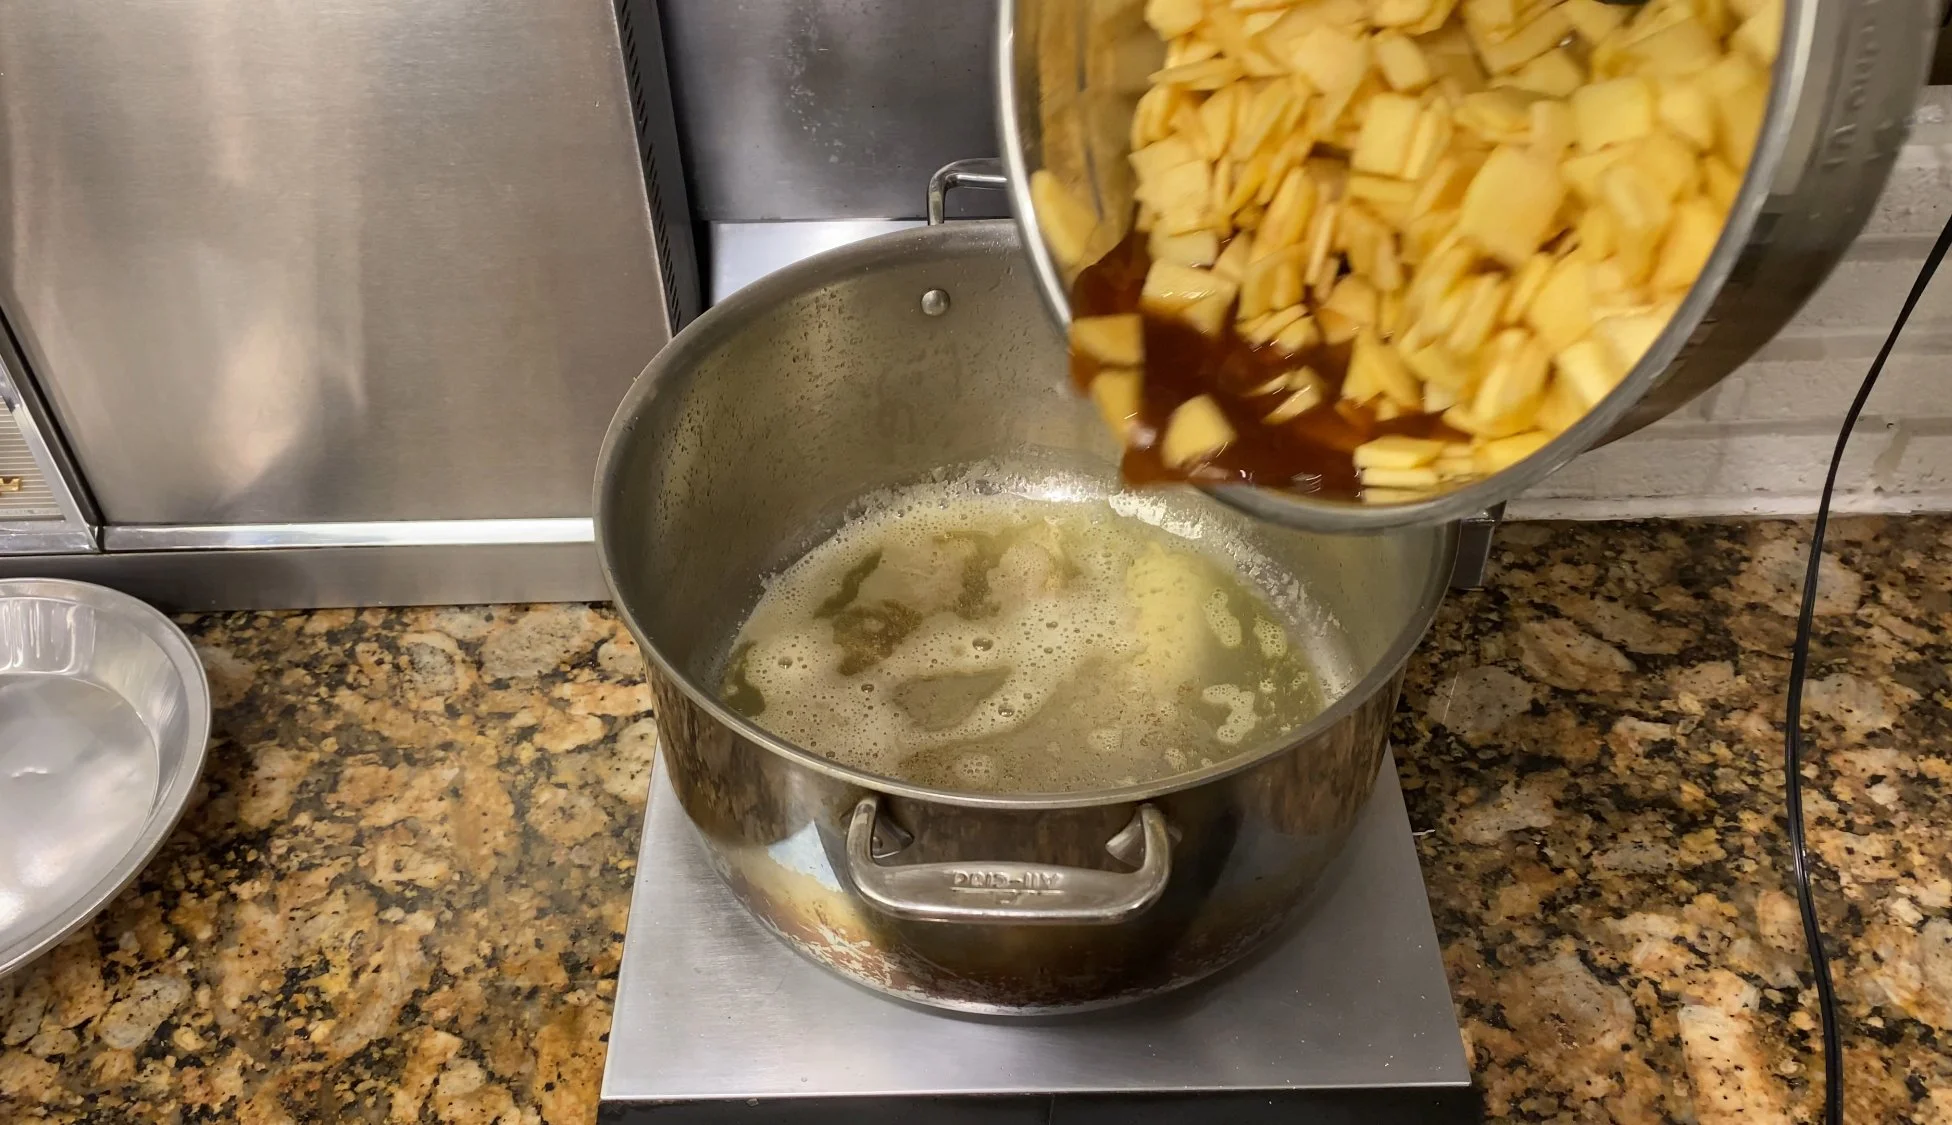
5. In a 4-6qt pot heat the butter over medium-high heat until it is lightly browned. Add the apples. Bring them up to a boil, turn them down to a simmer and cook covered for 20 minutes. Stir them every 8-10 minutes.
6. Uncover and simmer until the apples are tender and translucent; and the sauce has thickened.

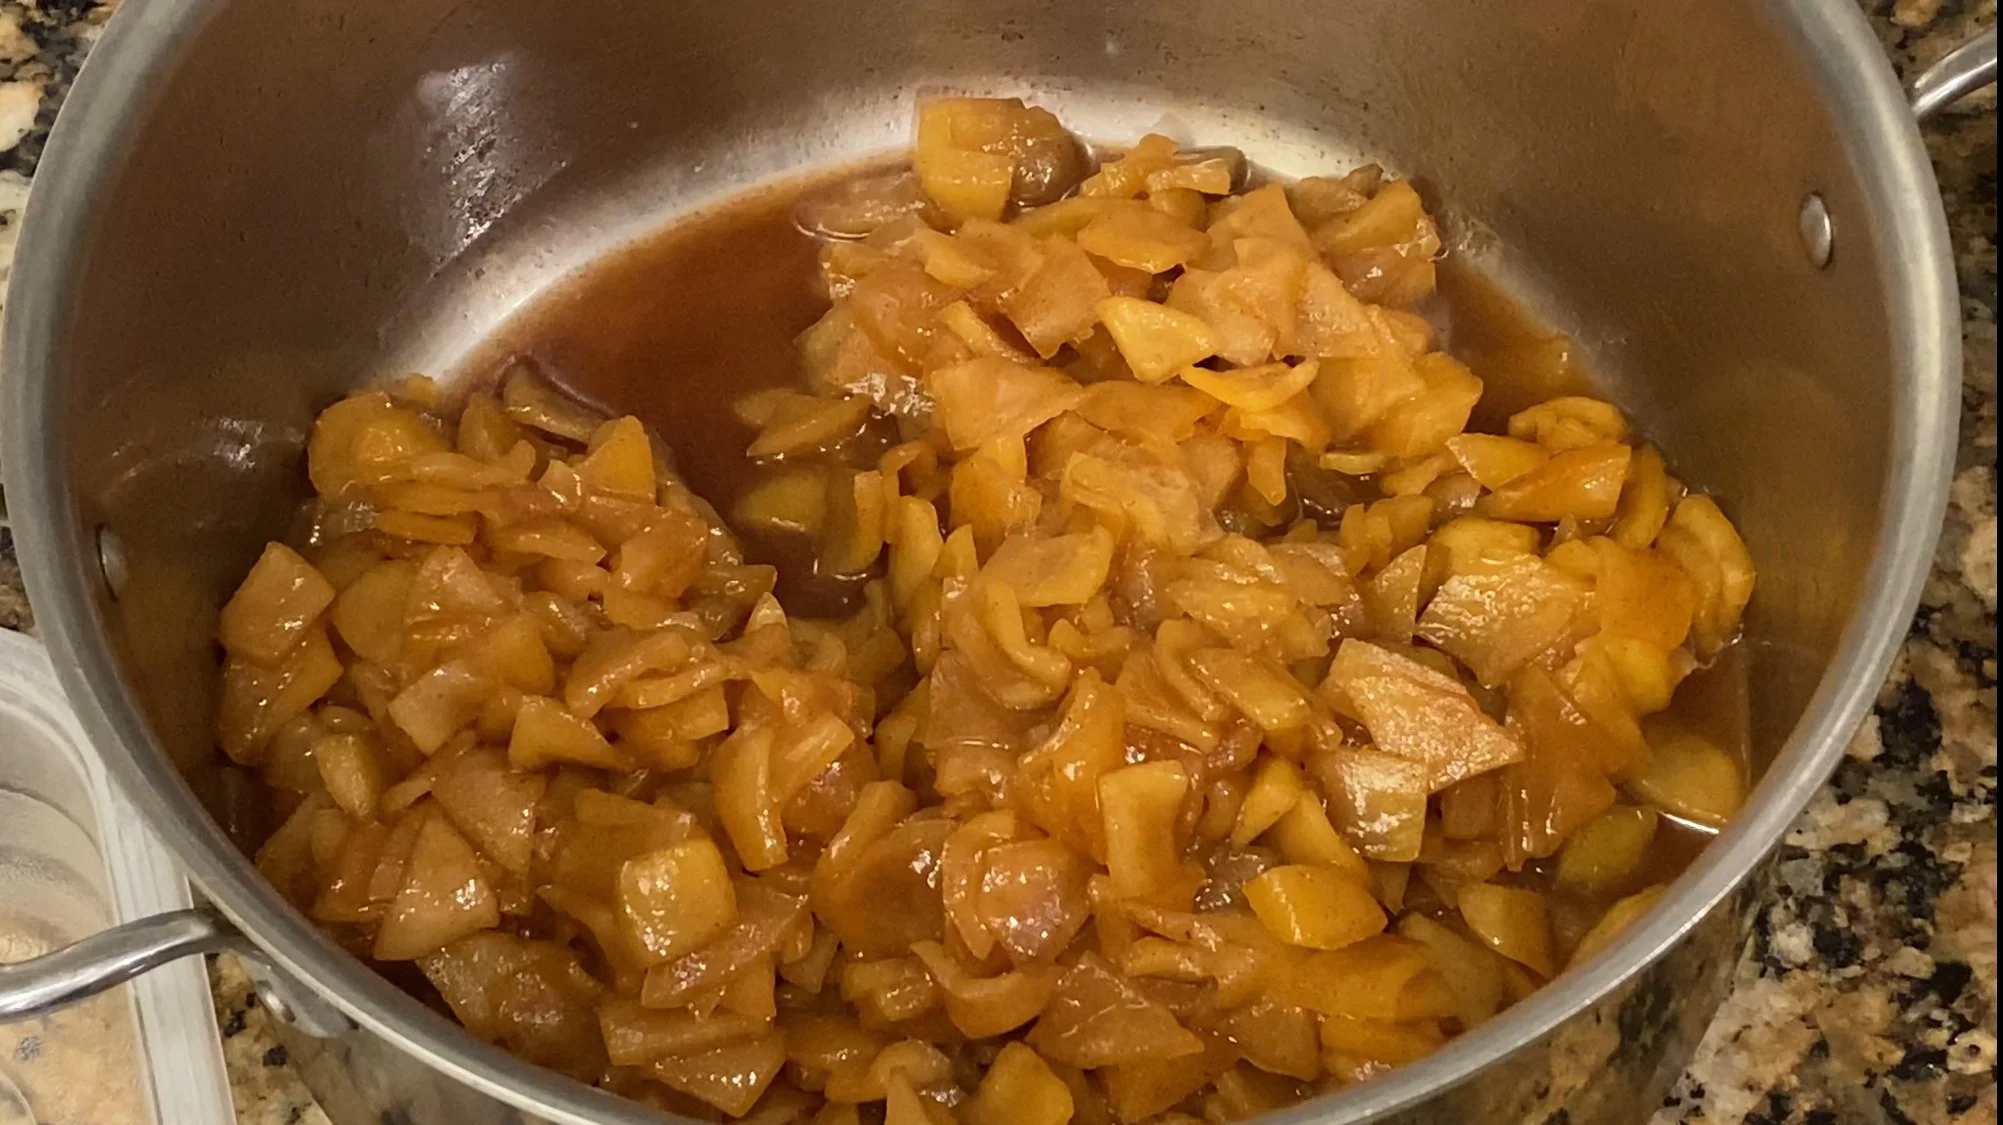
7. Cool completely and then refrigerate until you are ready to assemble and bake your pie.
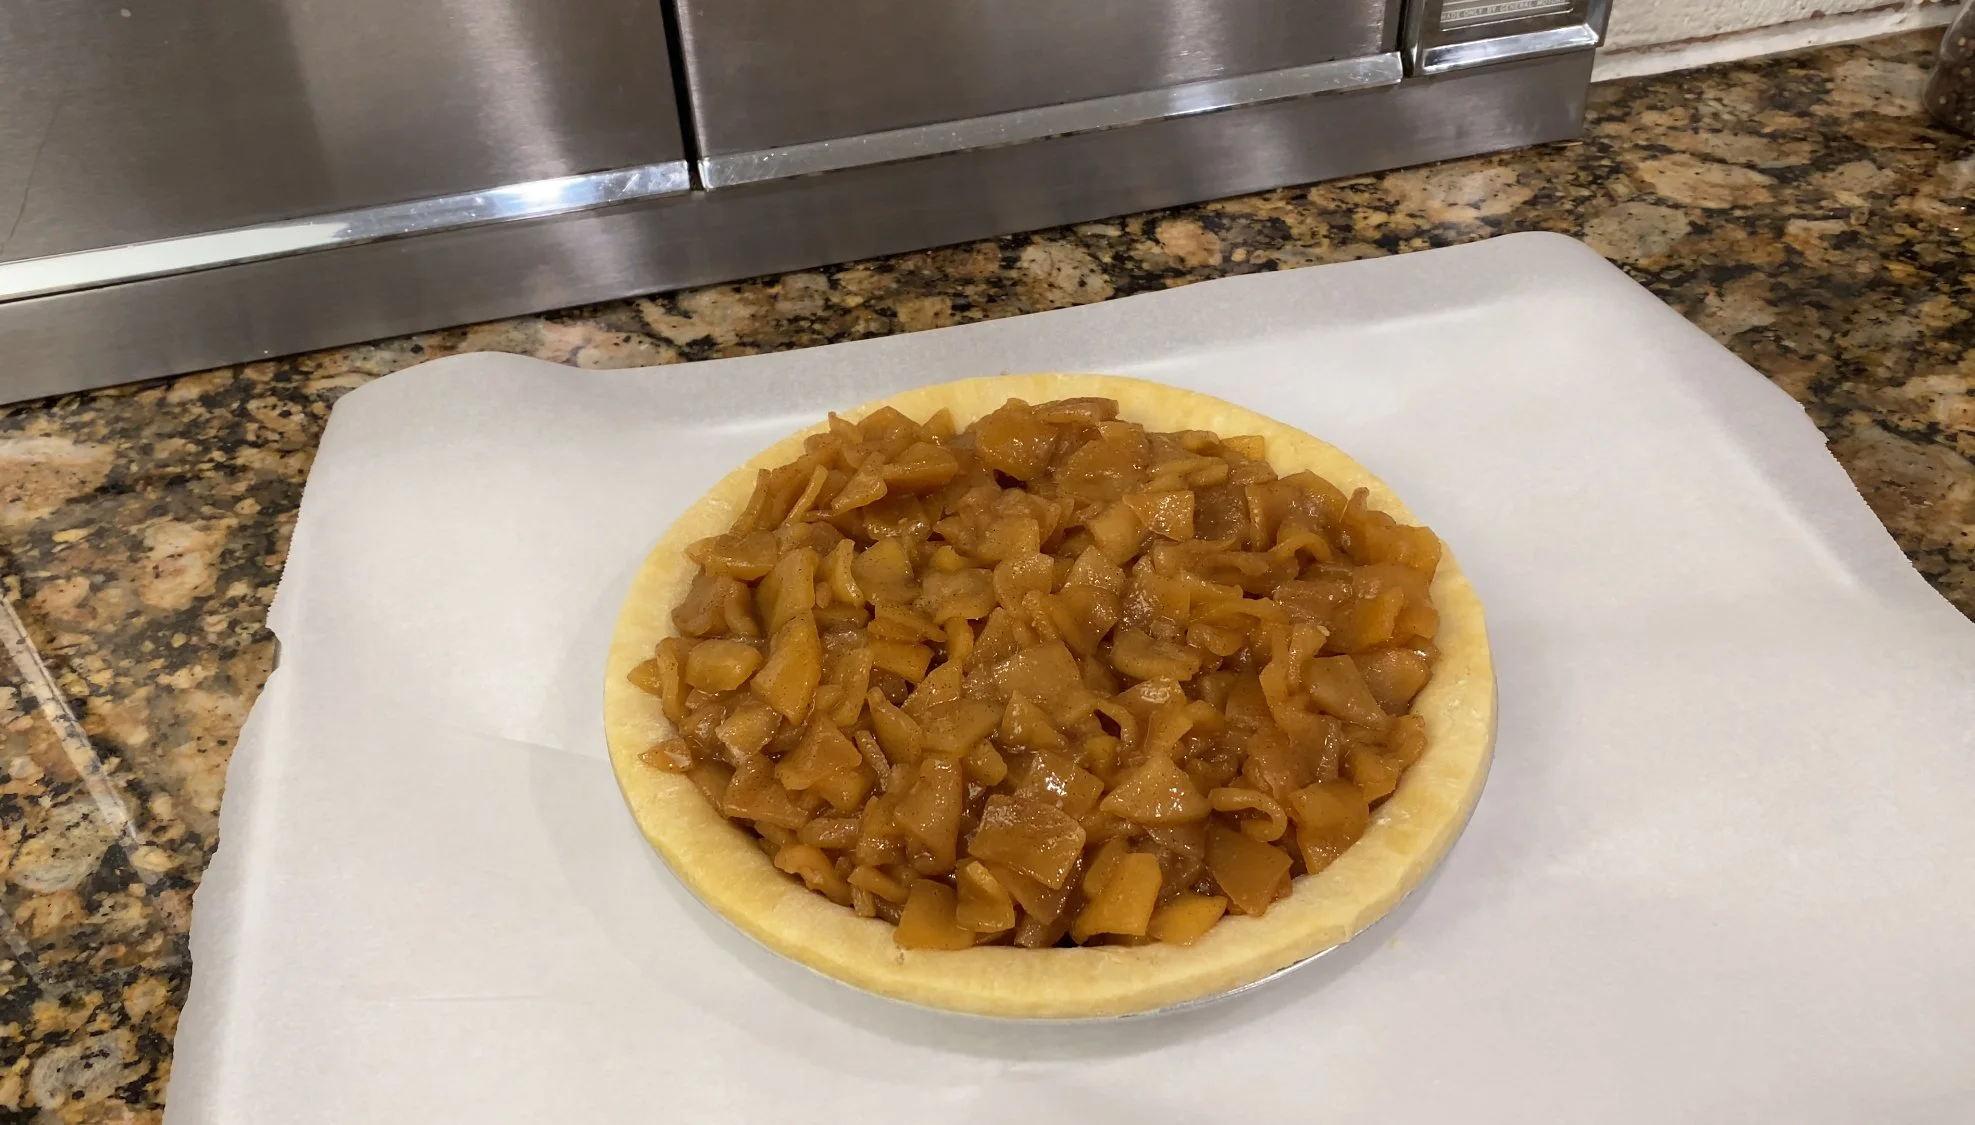
8. Temper the cooked apples for 1-2 hours before assembling your pie, so they are not ice cold when you assemble your pie. The tempered apples will look too dry, but don’t worry they will be fine.
9. Add the apples in an even layer to a pie tin lined with your dough.
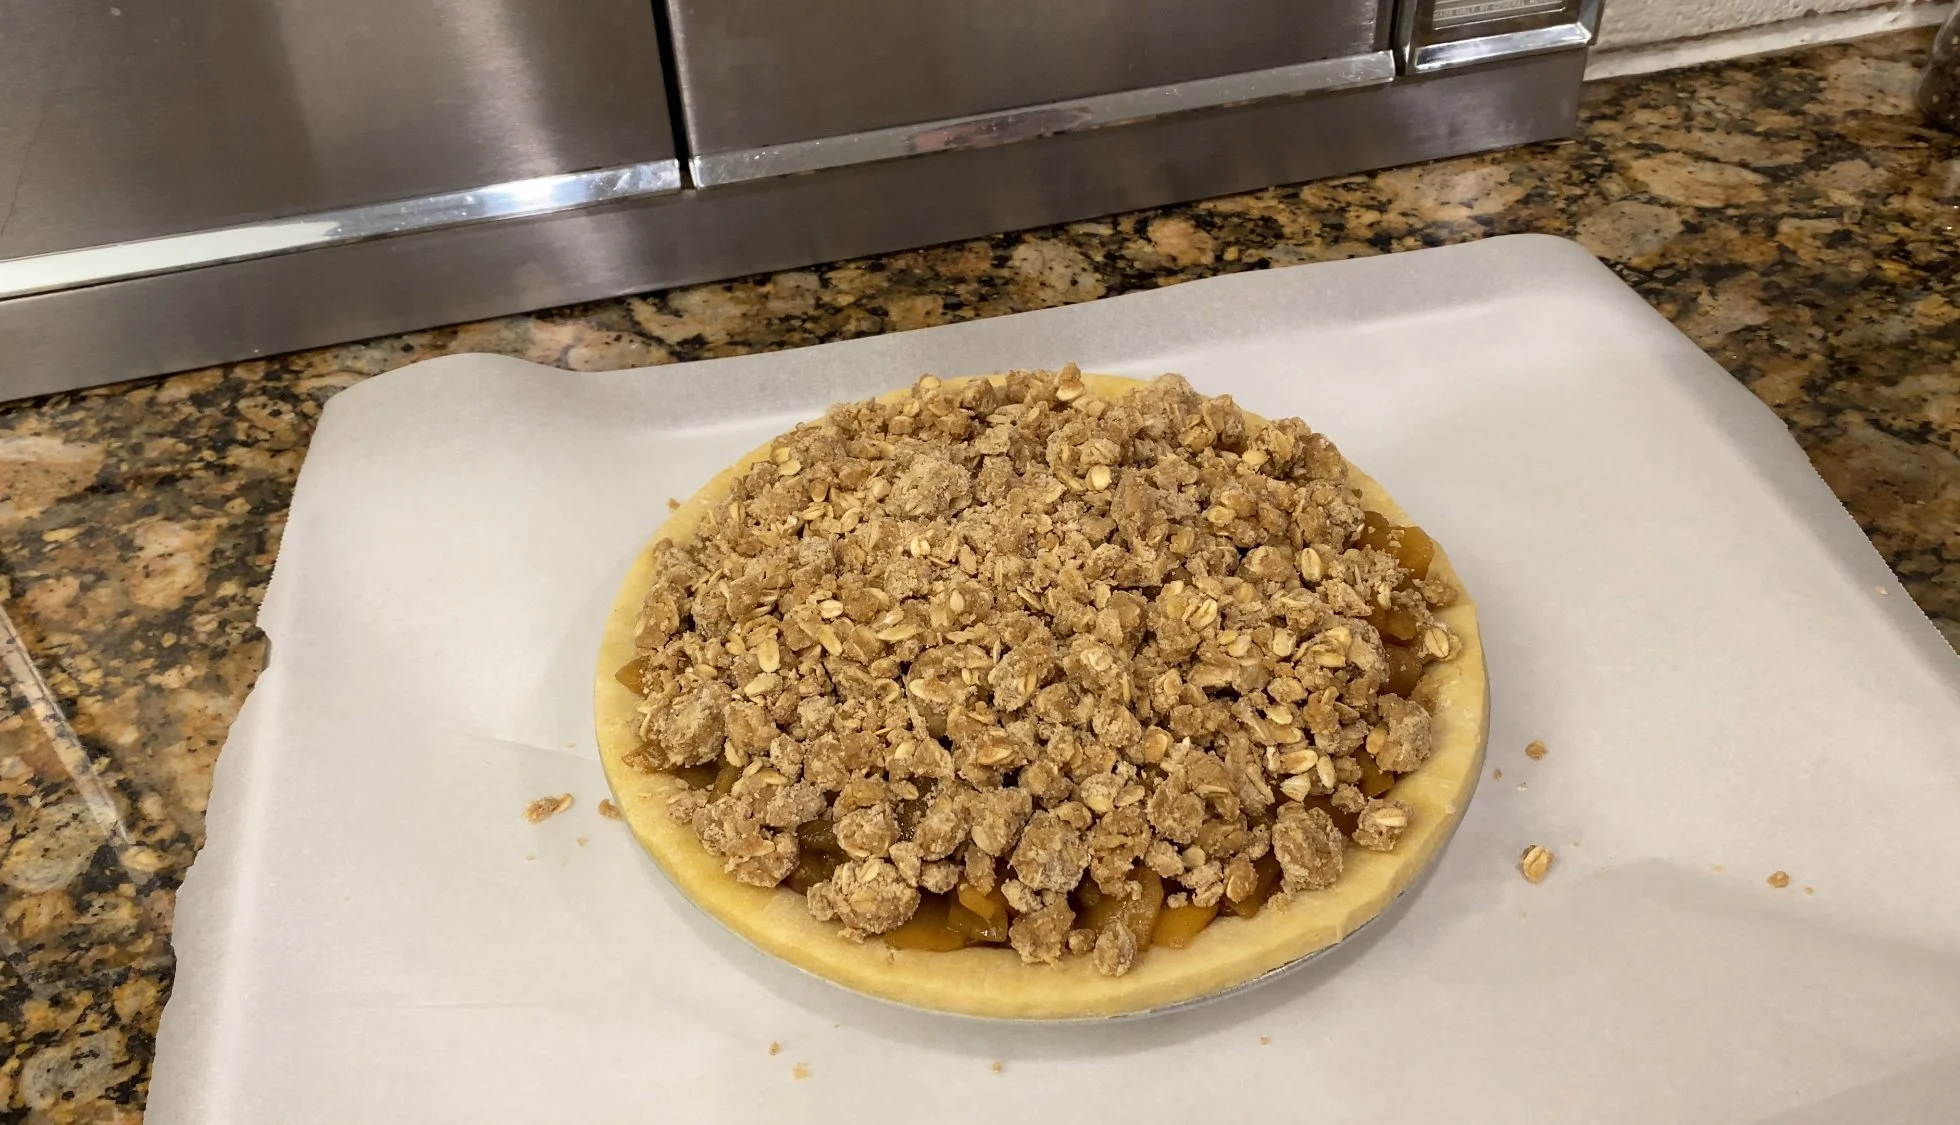
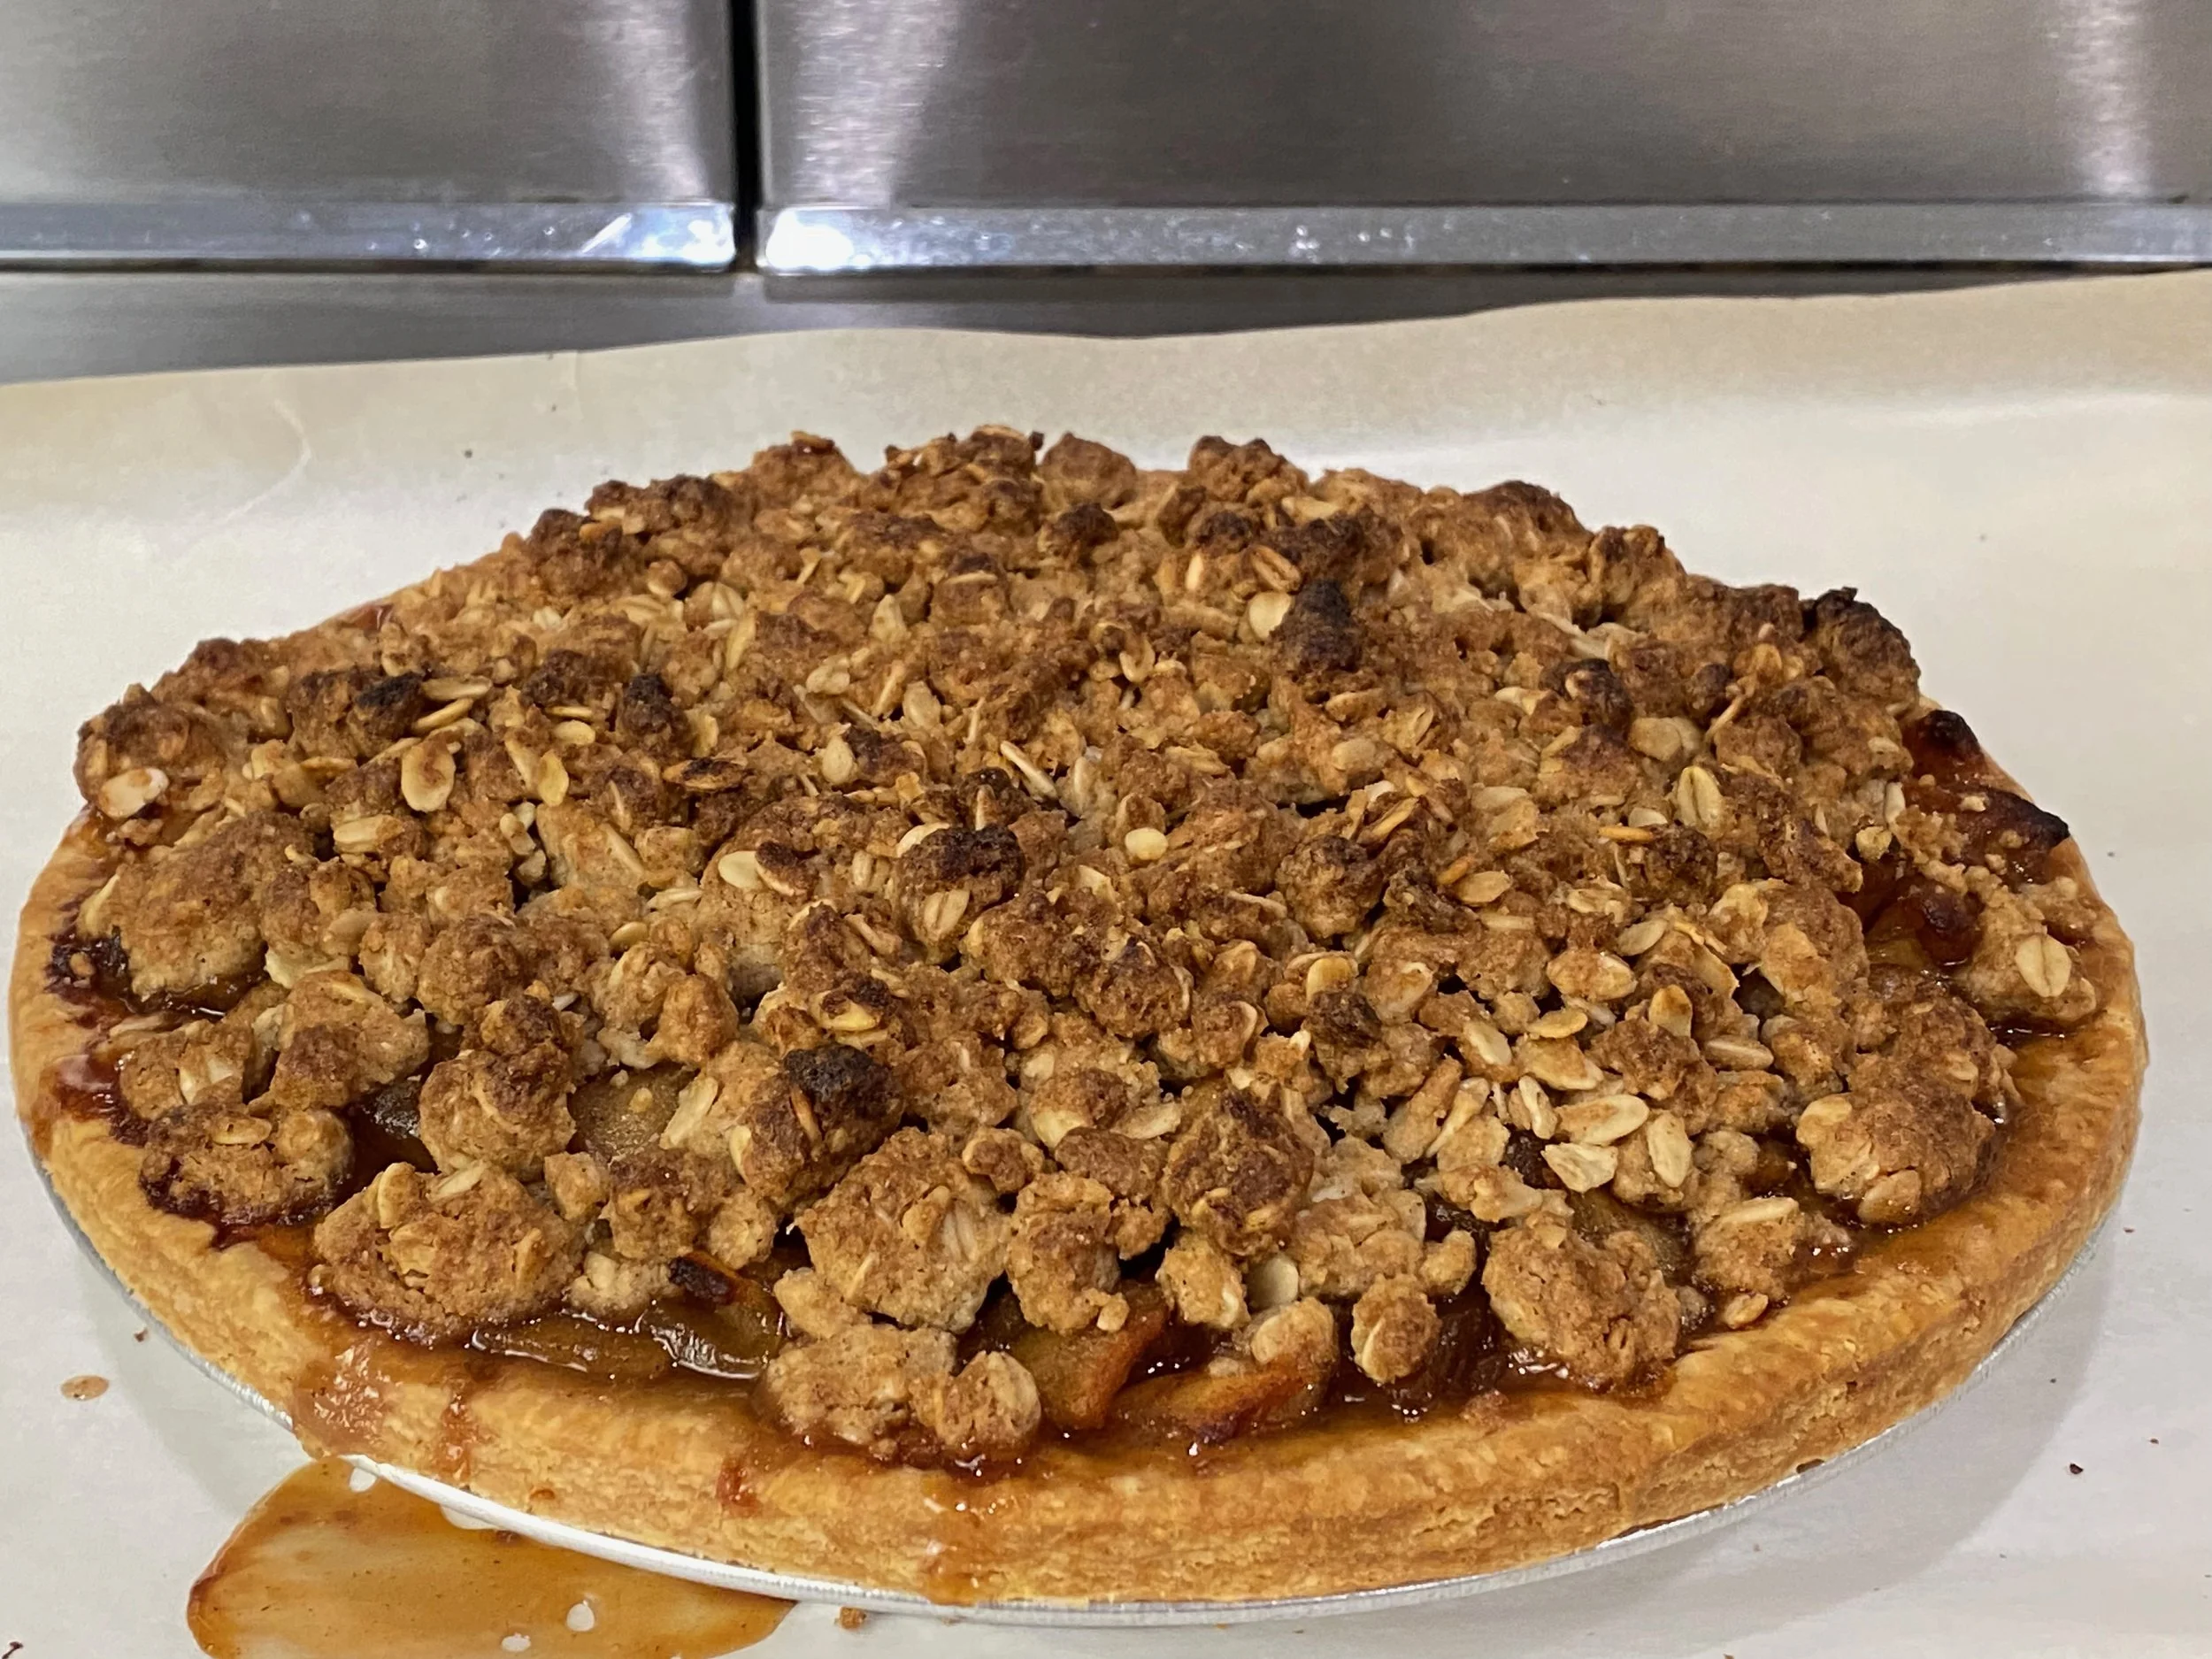
10. Cover the apples generously with crumble topping. Bake at 400 for 30 minutes. Reduce the heat to 375 and continue baking until the topping is nicely browned, approximately 30 minutes.
11. Cool for at least 3 hours before serving, so it can set up.
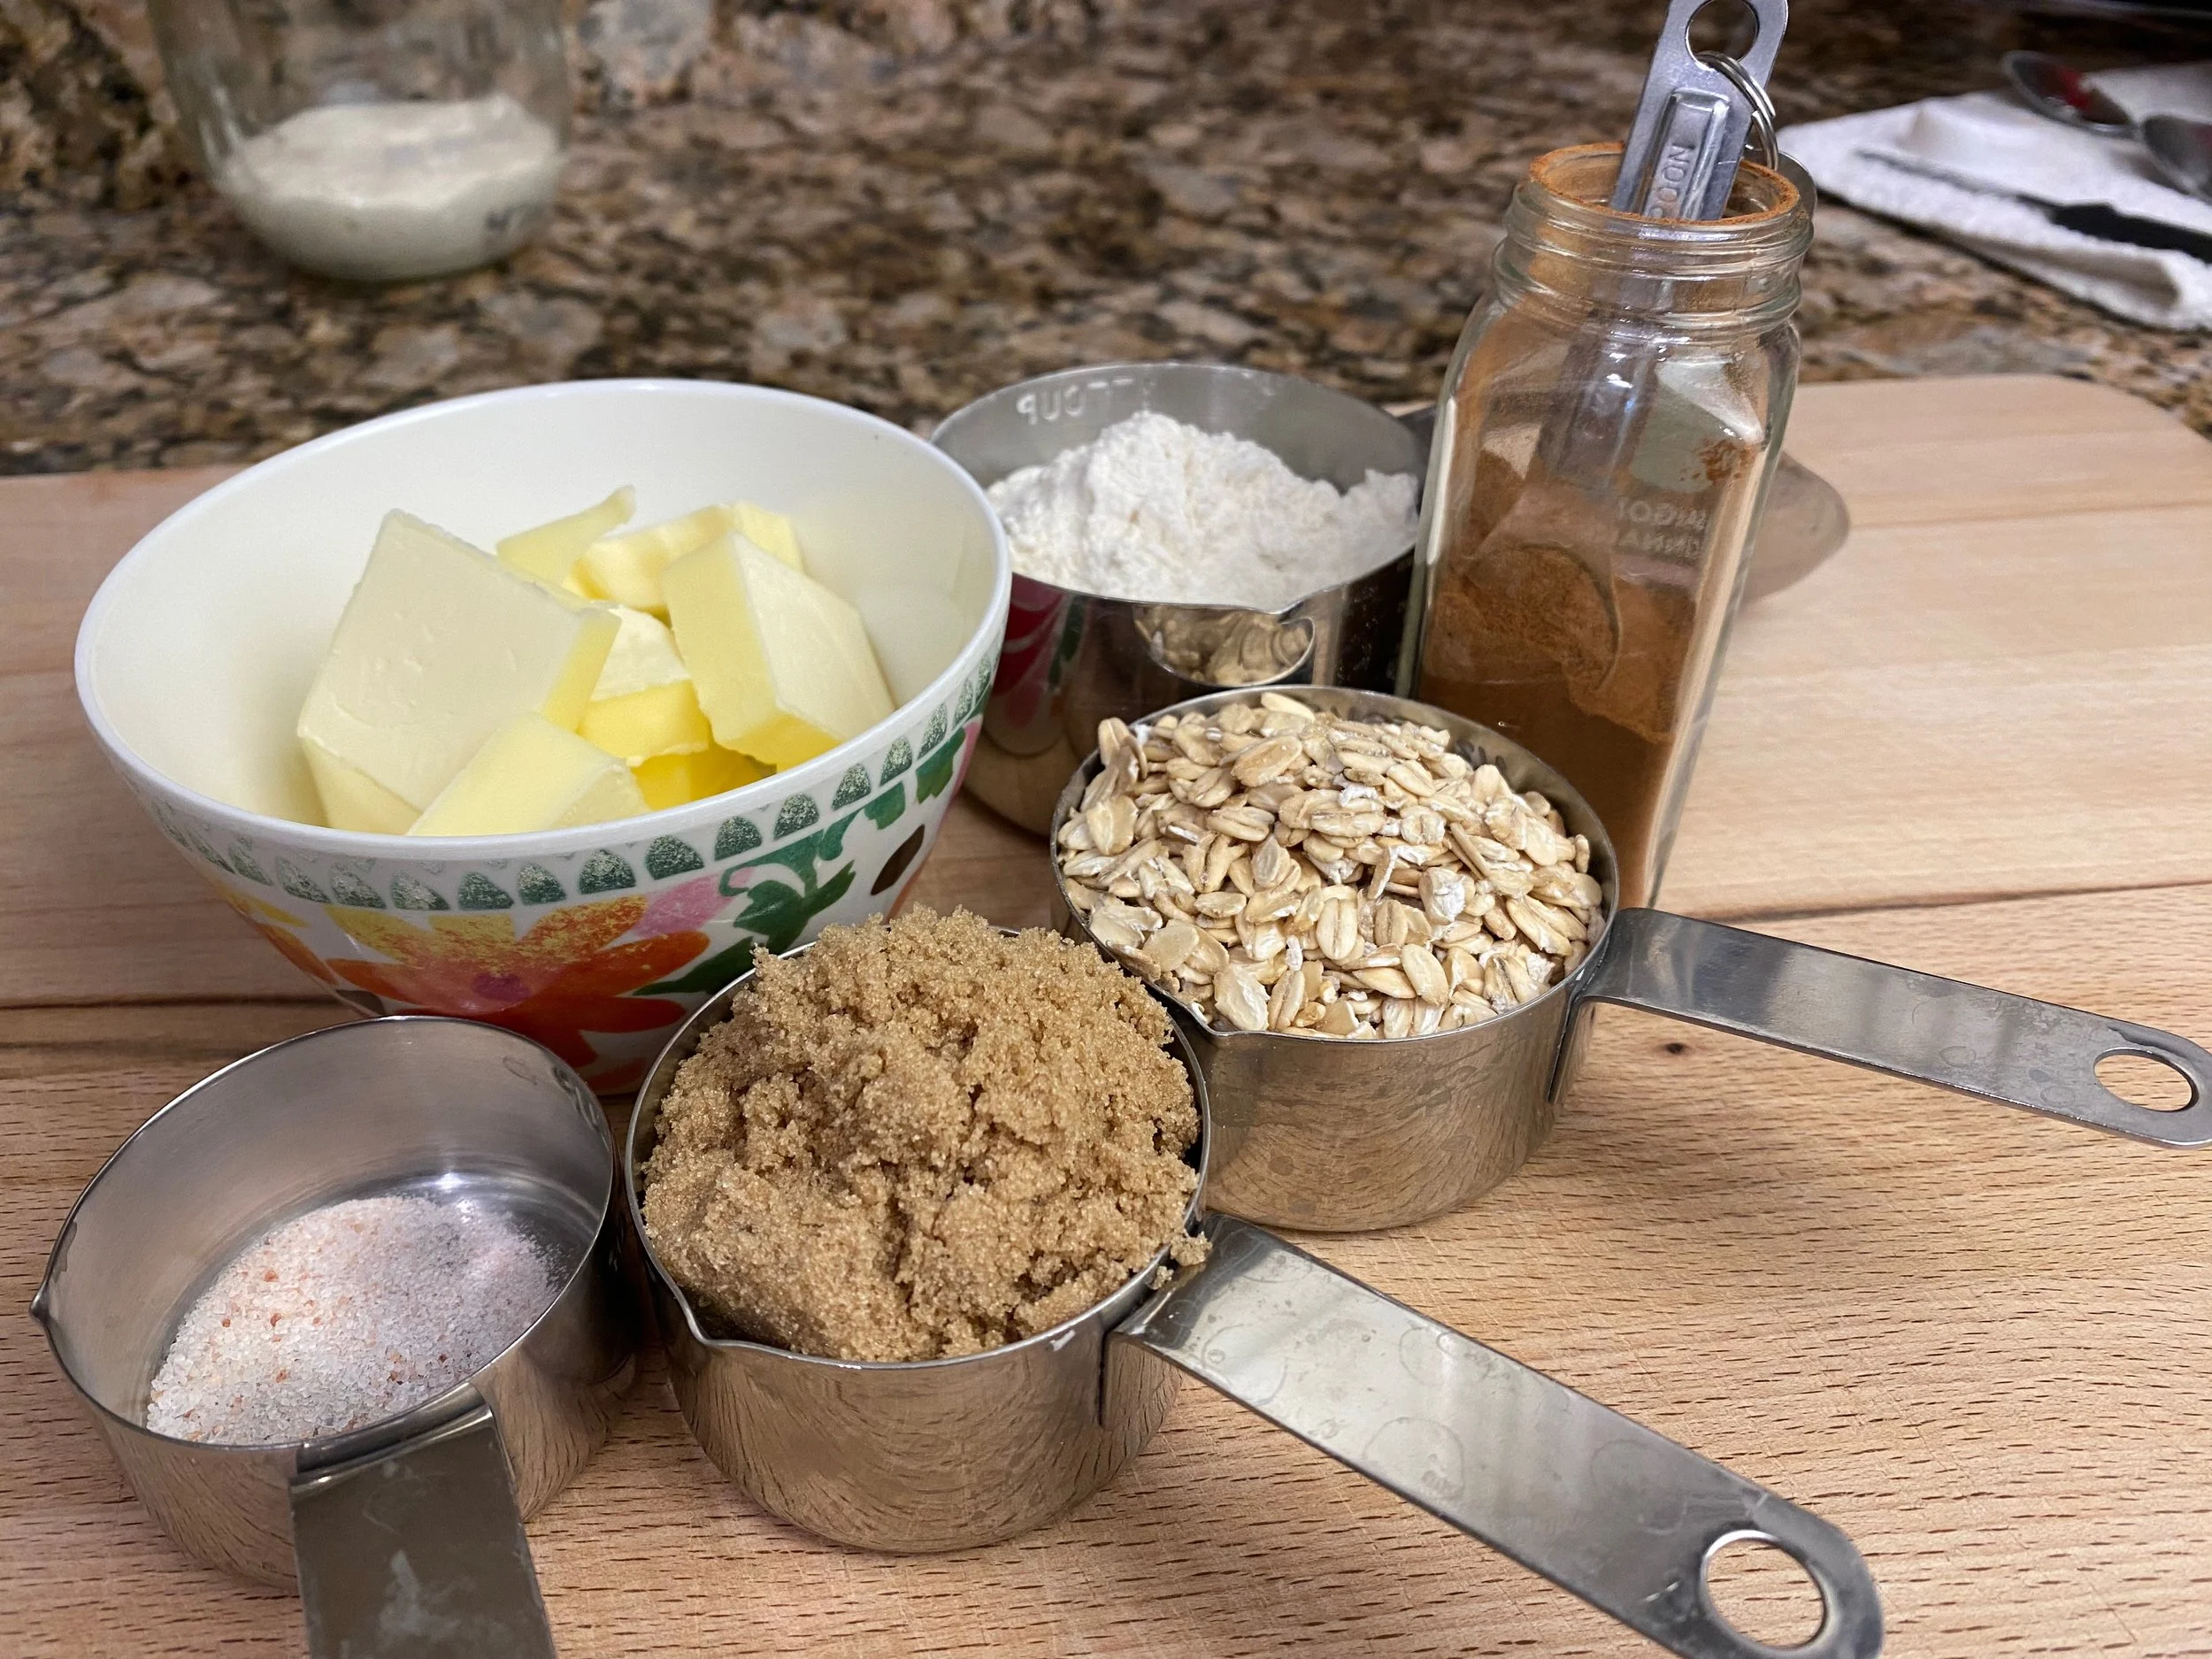
The Crumble Topping
1/2c. Old Fashioned Oats 60g
1/3c. Light Brown Sugar 60g
1/2 tsp Cinnamon
6 Tbs Butter (unsalted). 80g
1/4 tsp Salt
2/3c All-purpose Flour 100g
Method:
Melt the butter and set aside.
In a bowl mix all of the dry ingredients together with a spoon.
Pour in the melted butter and mix together with a spoon. It will come together and be very lumpy. That is all you want it to do. Do Not mix it until it gets smooth. Some of the oats may seem unincorporated, but it will be fine. Store refrigerated until ready to use. It will keep for 5-7 days under refrigeration.
Pie Dough
Yields one ¼” thick 9” pie crust with a little extra to fold along the edges of the tin or to make a lattice across the surface.
300g All-purpose Flour
227g cold Butter (unsalted), diced into ⅜” cubes and
15g Sugar
6g Salt
110g Ice cold water
Add the dry ingredients to a standing mixer bowl. Use a spoon to mix the salt and sugar thoroughly into the flour.
Add the cold diced butter. Mix with a paddle attachment at a low speed, until the butter and flour looks sandy with ⅛” butter nuggets.
Add the cold water and mix to combine into a dough.
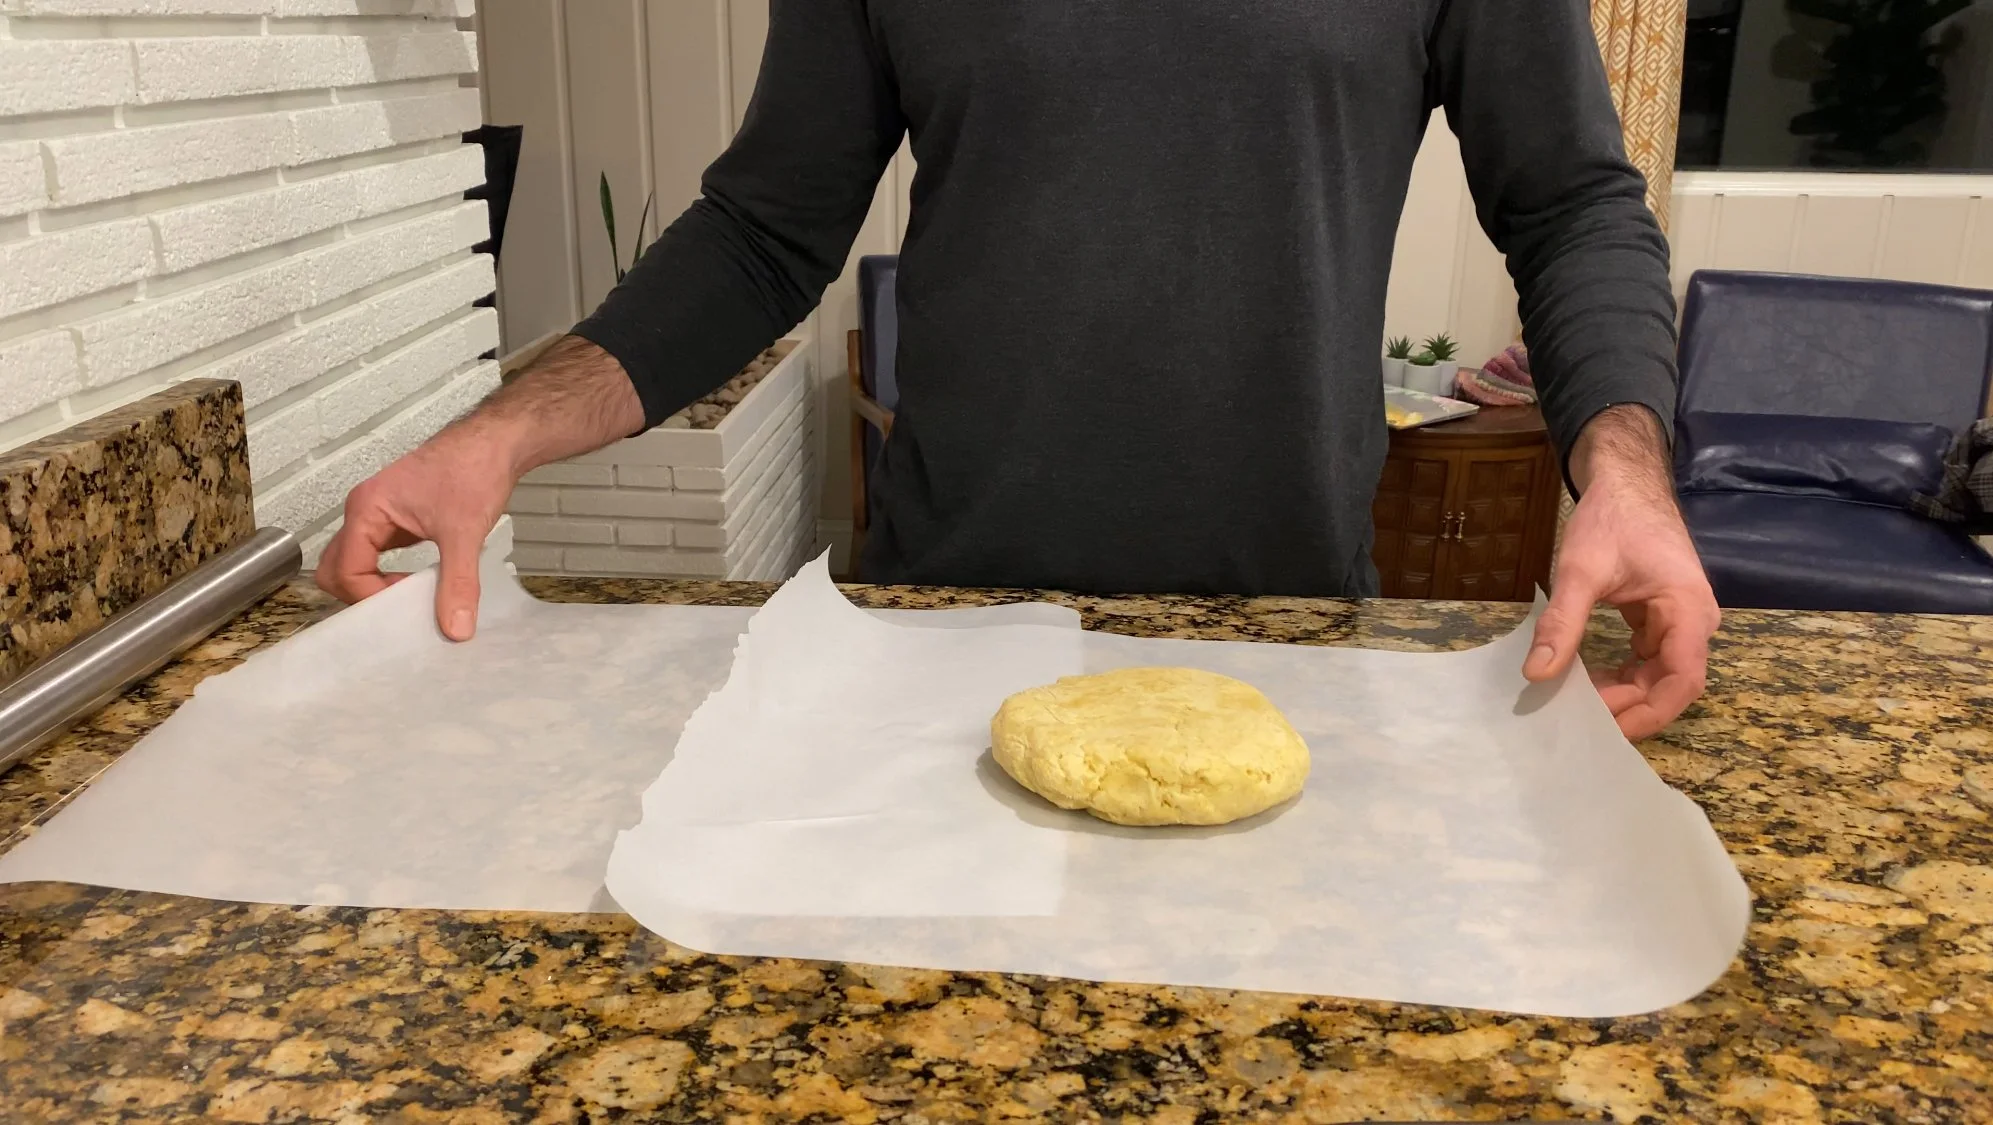
Remove the dough to a piece of parchment paper. Form it into a 1” thick disc. Refrigerate for 2 hours before rolling out and forming into a pie tin.
Sandwich the disc of cold pie dough between two large pieces of Parchment Paper.
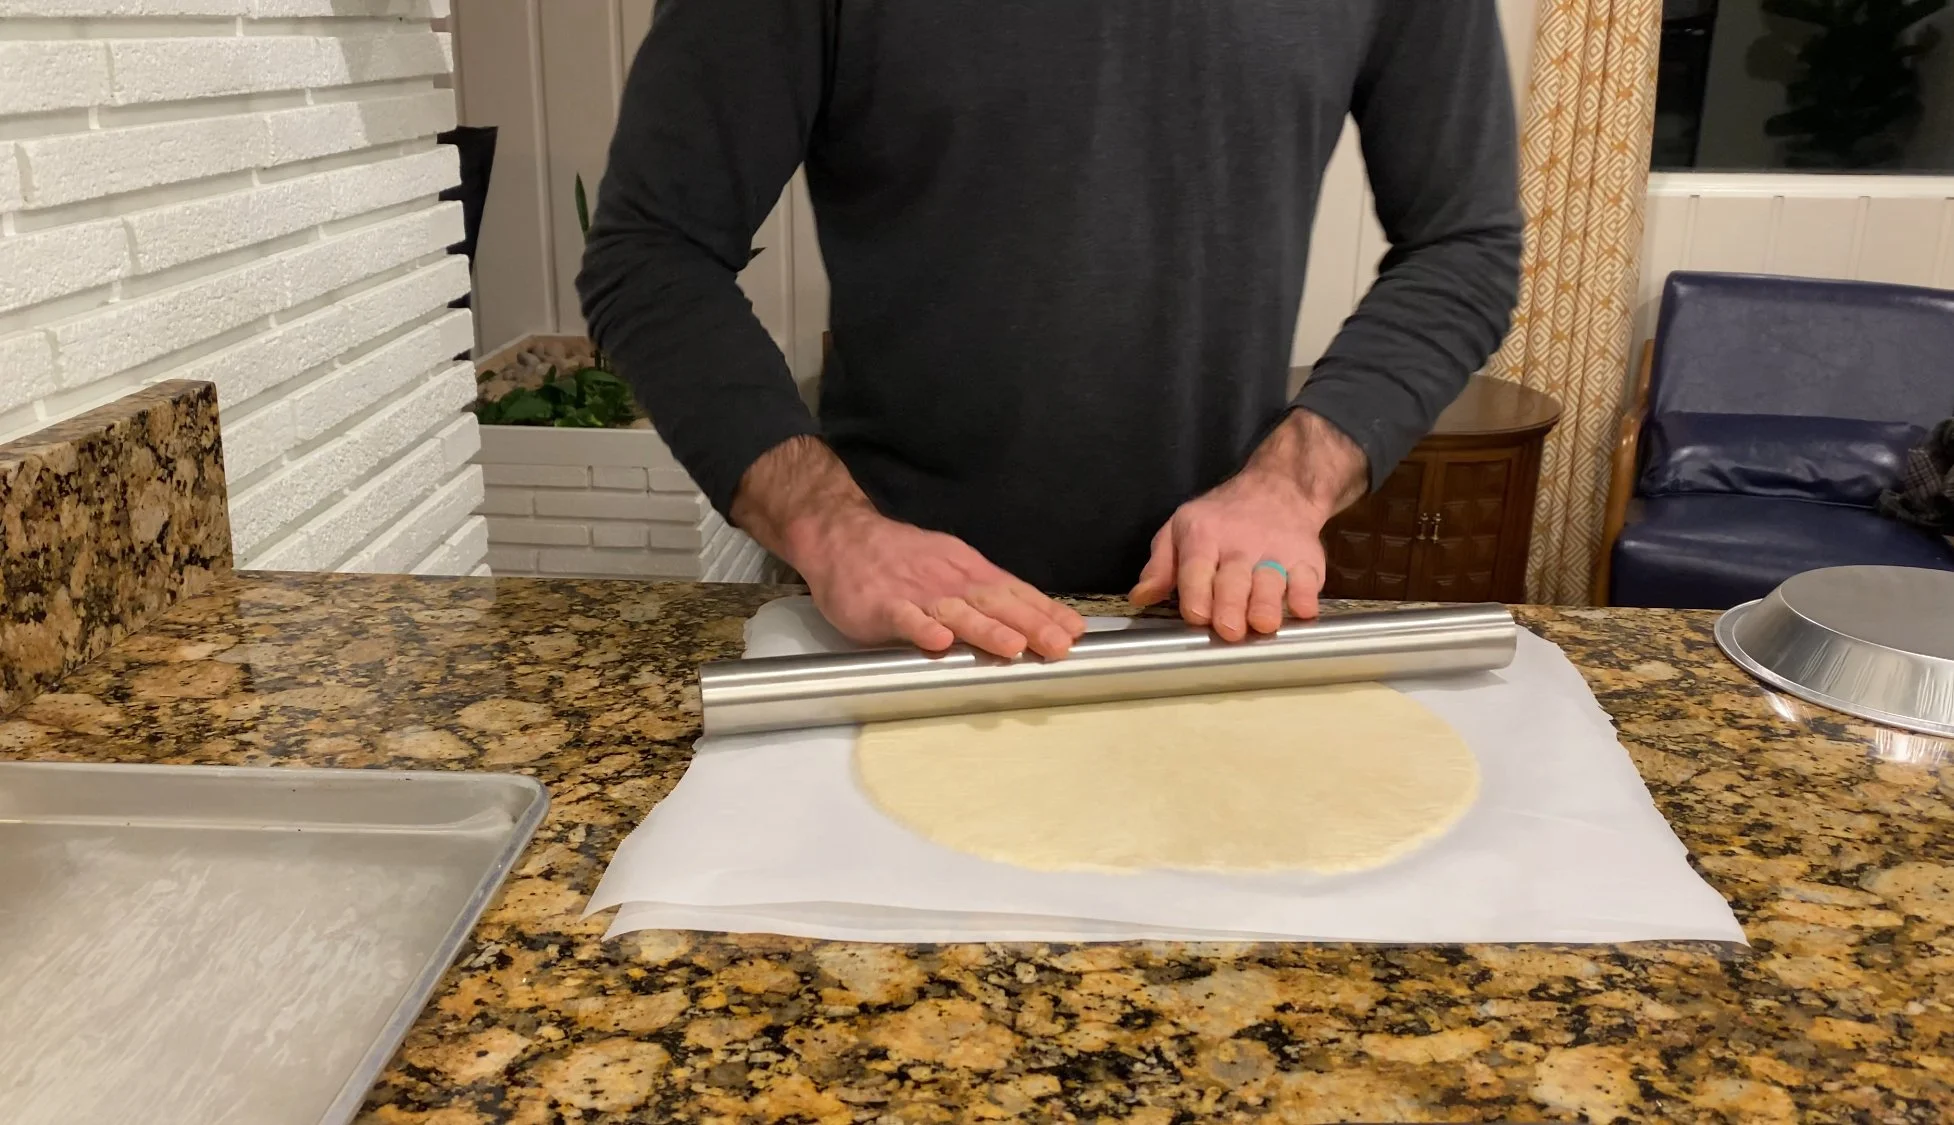
Use a rolling pin to roll the disc into a 1/4 inch thick disc. It should be larger than the 9” pie tin by 2-3”. You can turn the pie tin upside down on the dough to measure if you have achieved a diameter that is 2-3” wider than the tin. Work your way around the dough rolling in all directions. Use even pressure and occasionally turn the disc over.
If the dough gets too warm it will stick to the paper. If it gets warm and sticks to the paper, refrigerate it for 40 minutes to firm it back up. You will be able to peel it away once it is cold.
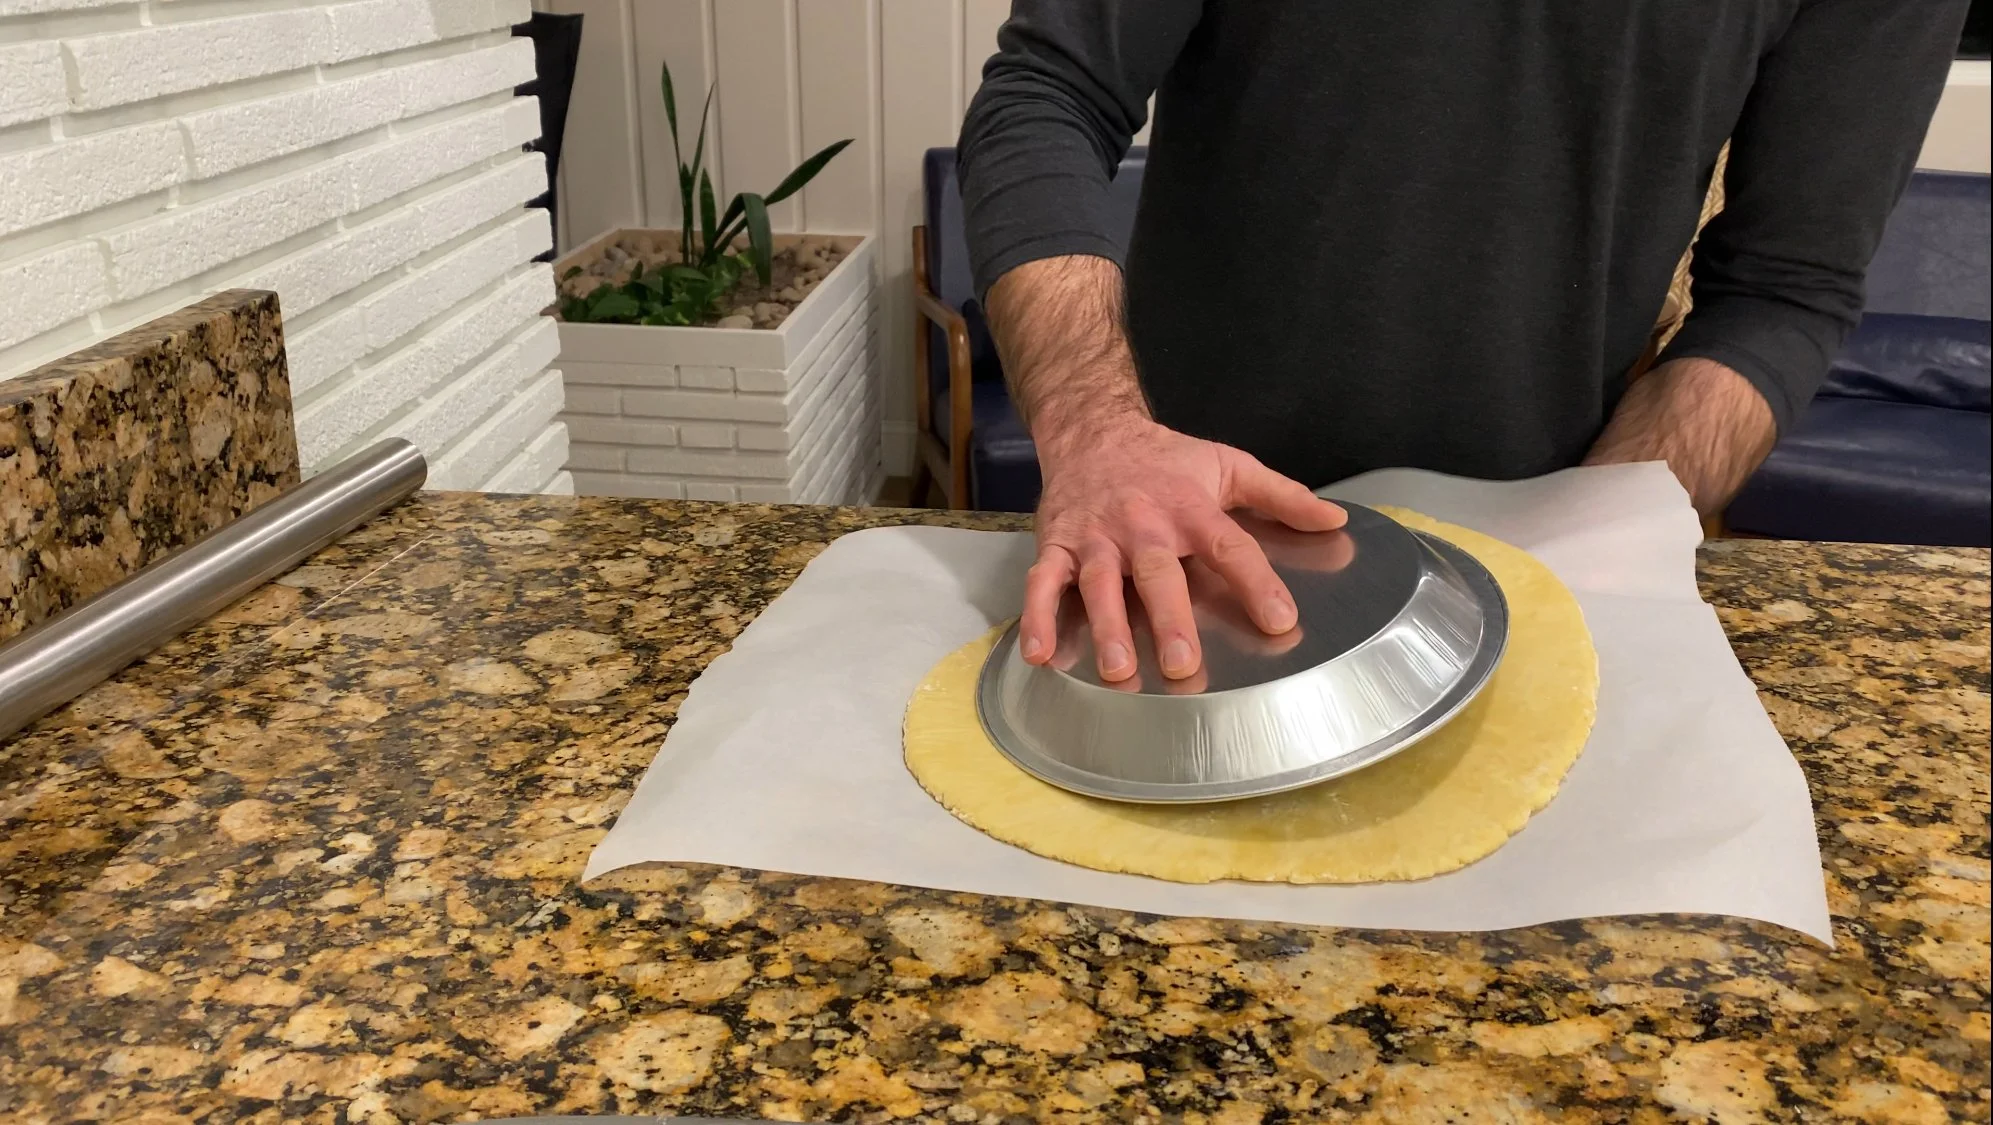
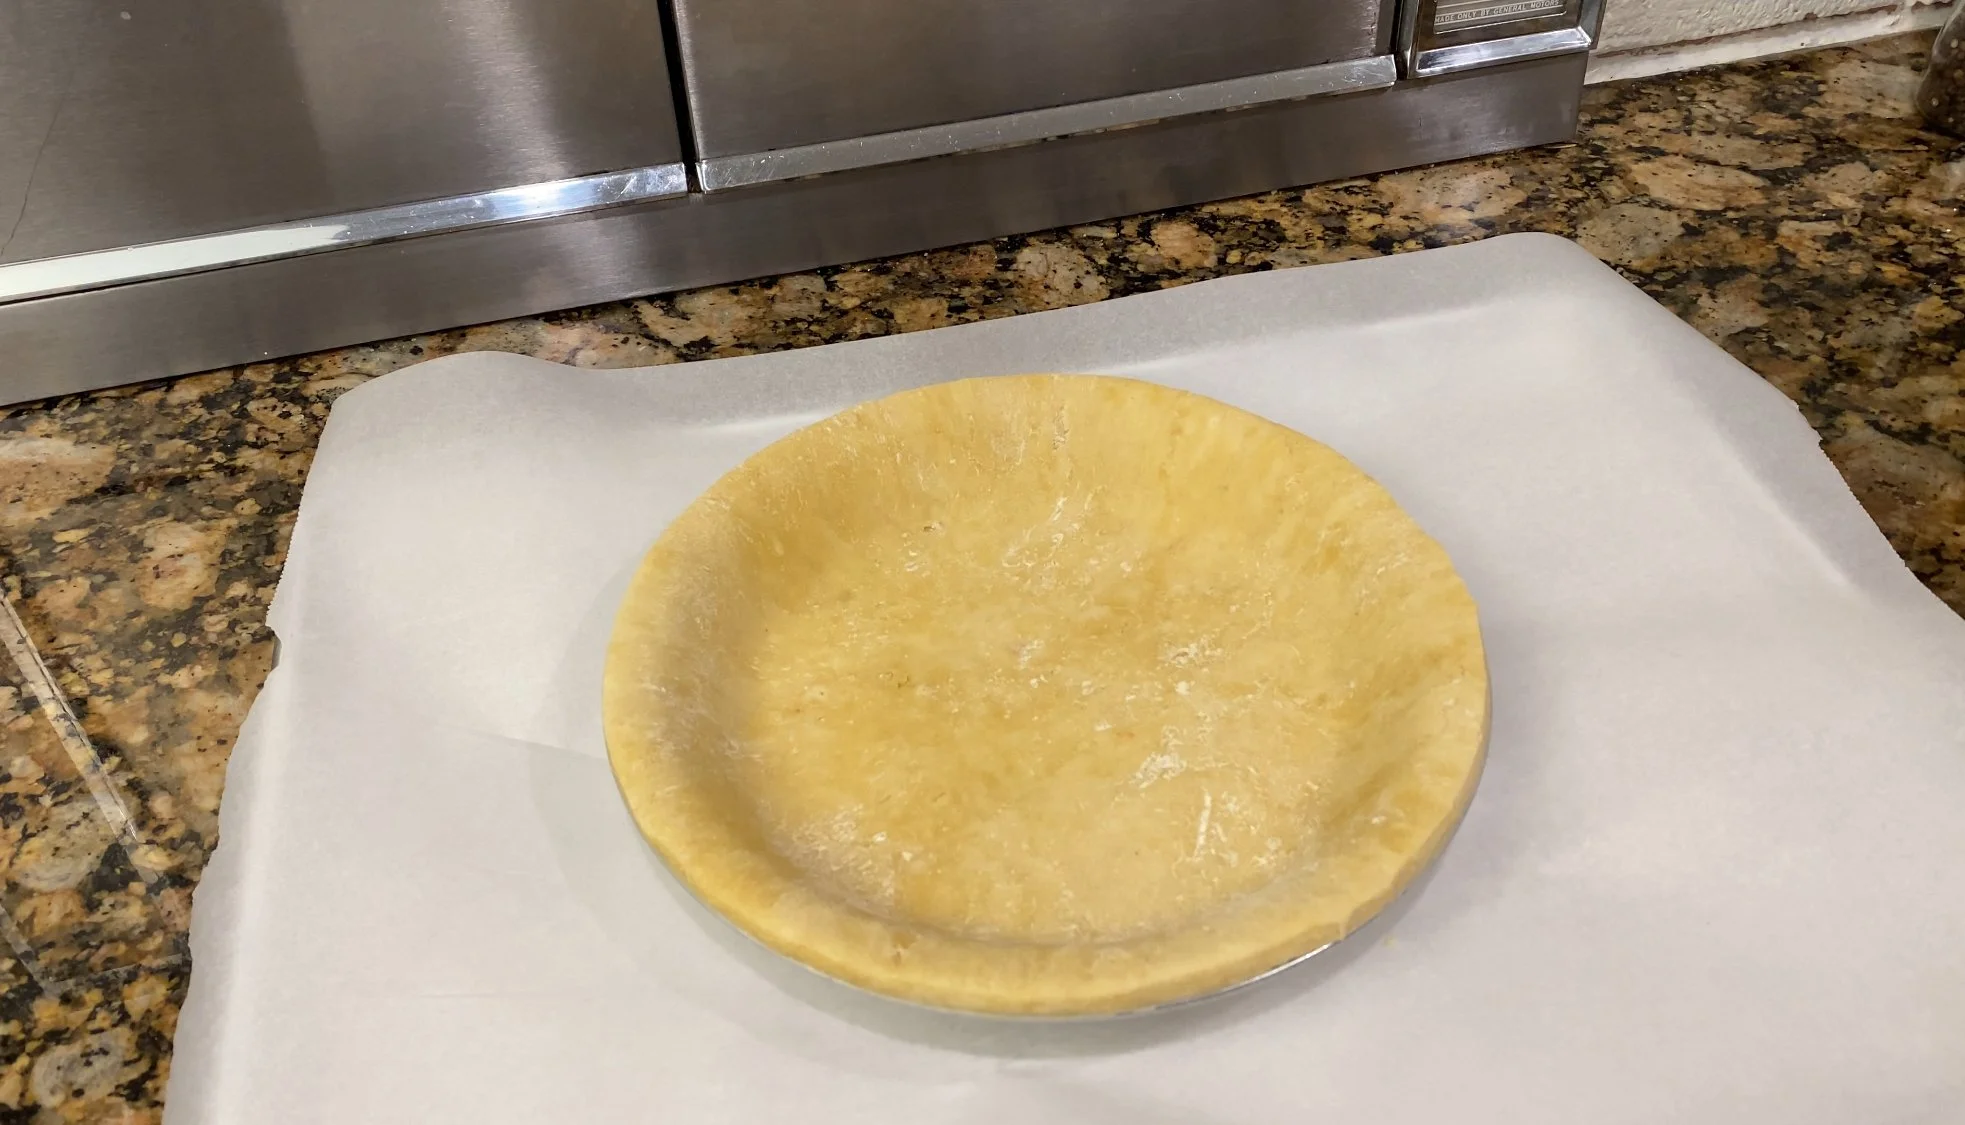
7. Peel the paper from one side of the dough. Peel it away by pulling it back not up. I recommend peeling one piece then flip the dough back onto that piece. Next turn it over and peel off the second piece of paper and discard. The dough is now on the original piece of paper and facing up. Place the pie tin centered on the circle of dough. Now you can use the paper to easily flip the dough over on the pie tin. The paper will peel off no problem since it was already released from it.
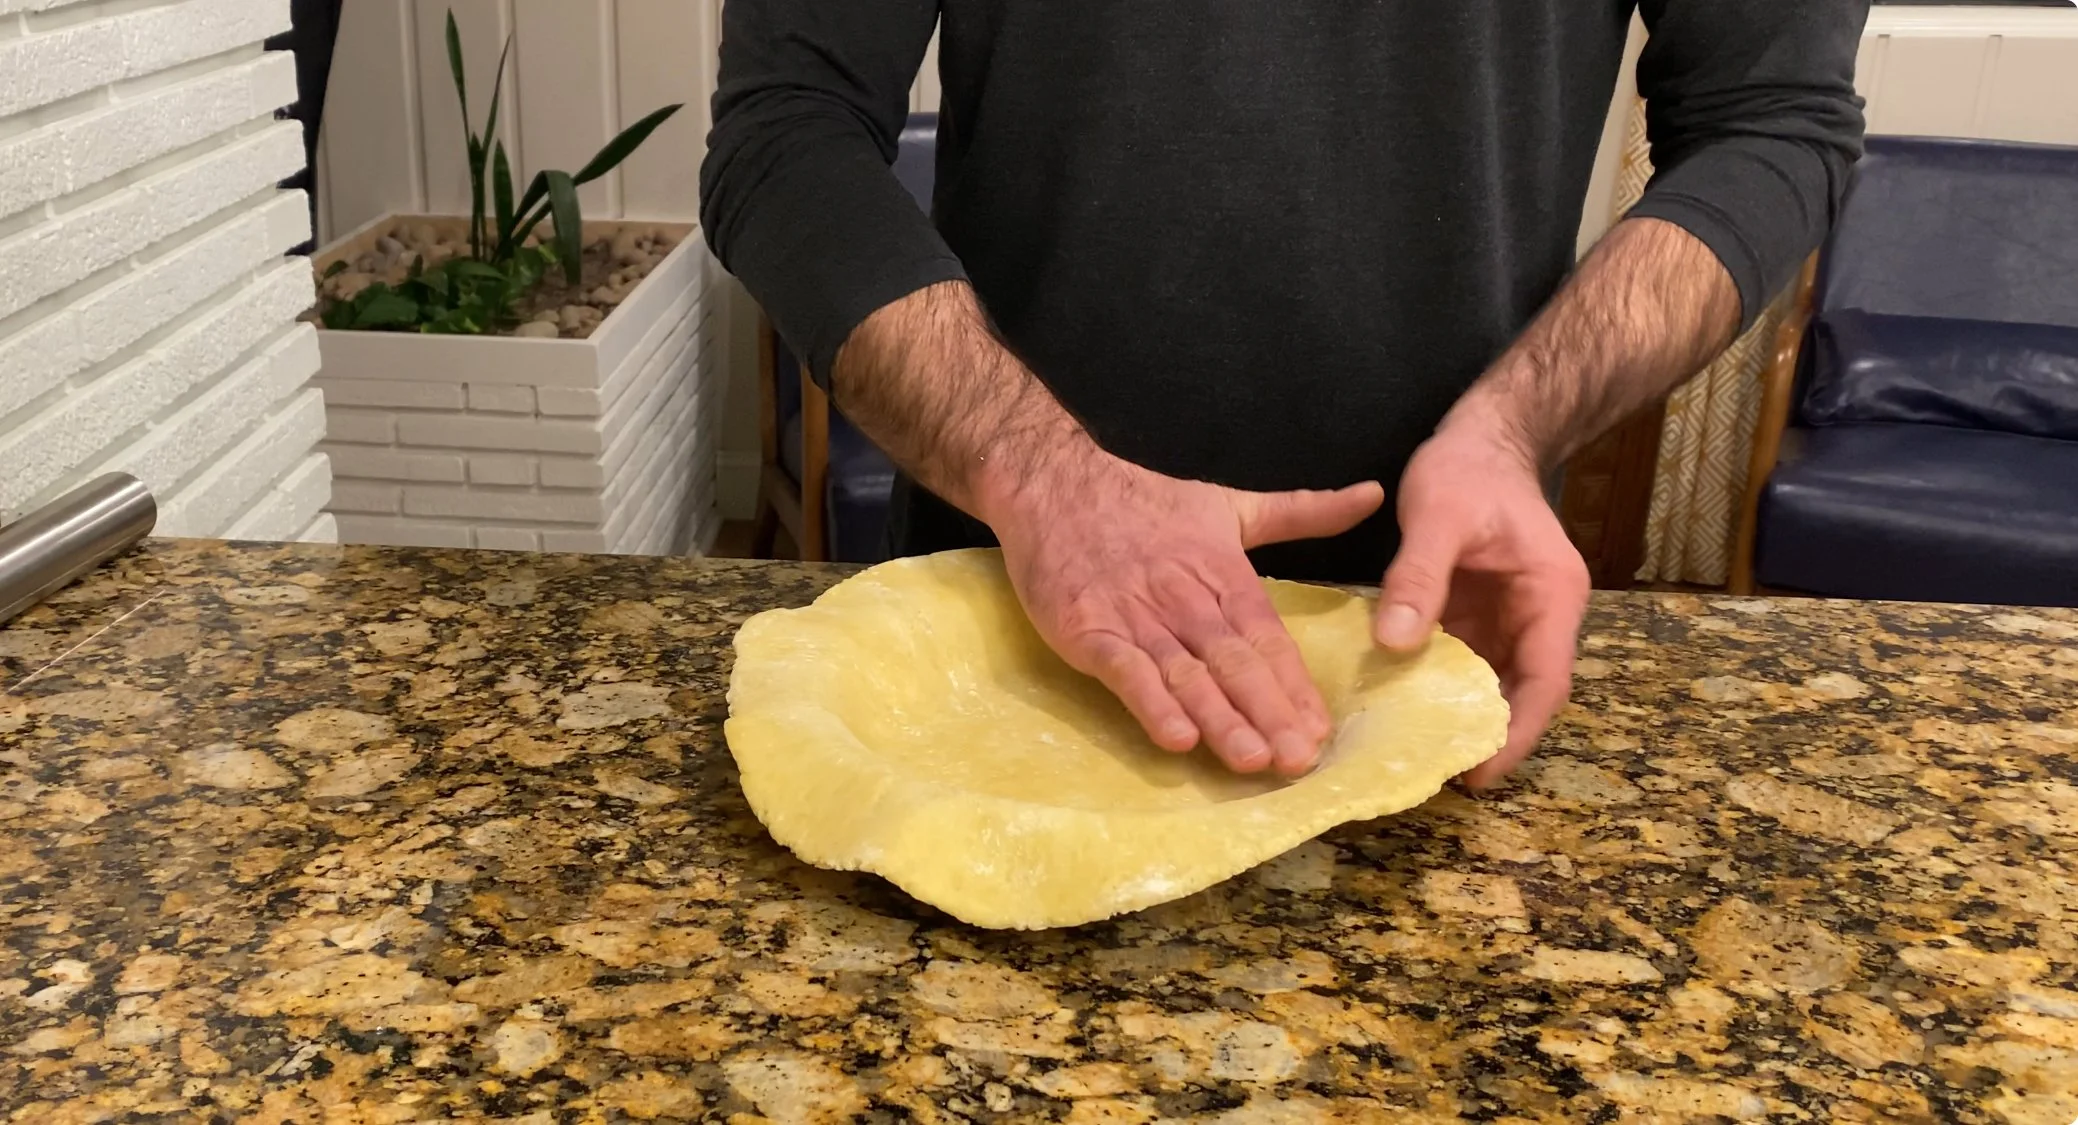
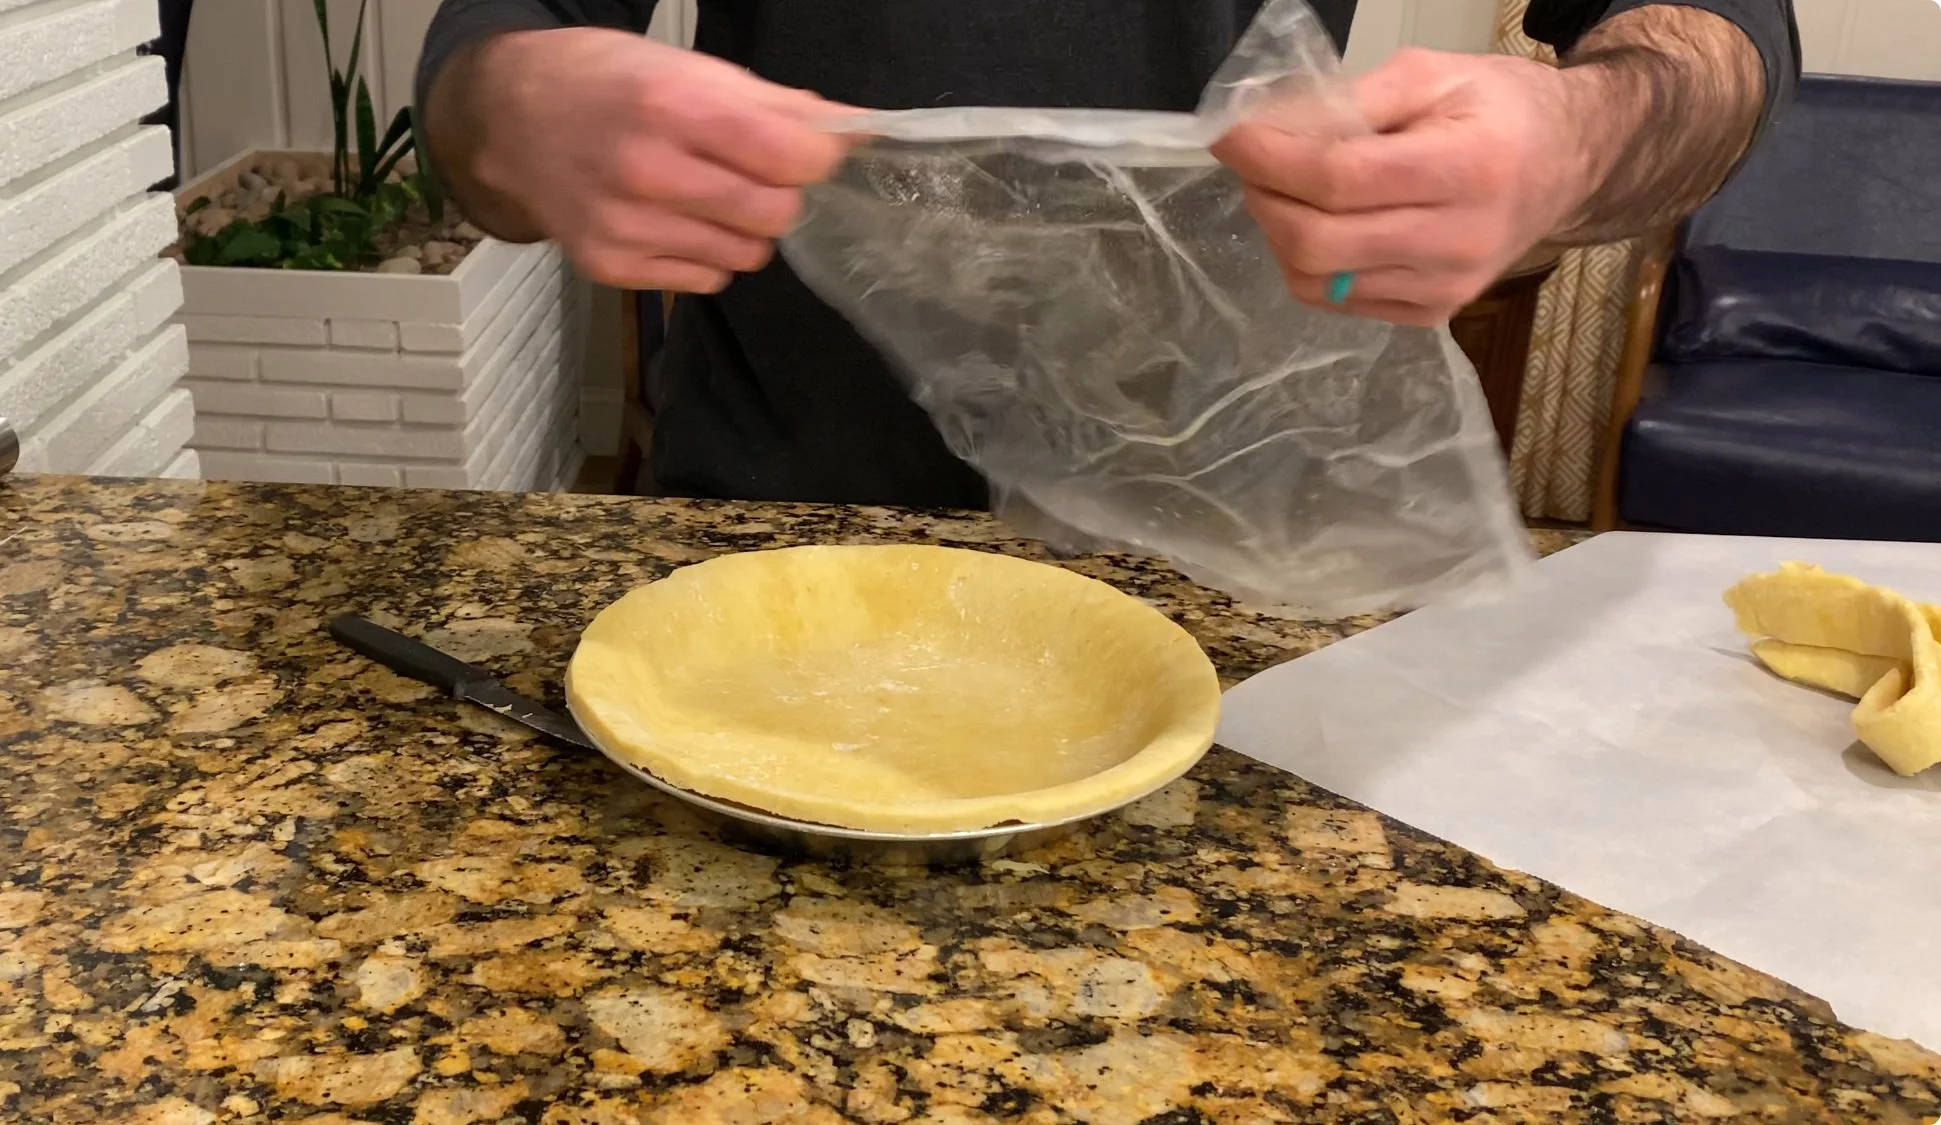
8. Remove the paper from the dough and form it into the pie tin. Fit it gently into the corners. There is no need to squish it. You want to maintain its thickness and fit it into the shape of the tin. You can trim away any excess dough from the rim of the tin, or go for more of a rustic look and fold the excess dough into waves along the rim of the tin.
9. Your dough is ready to go. You can cover it with plastic wrap and refrigerate it until you are ready to assemble your pie. This can be done the day before, which can make assembly feel very effortless.